In this article, I will explain how to install Ubuntu 20.04 LTS on your device using a bootable USB drive and Ubuntu ISO file.
Ubuntu installation is very similar to Linux Mint installation as Linux MInt 20 is based on Ubuntu.
You can install Ubuntu using a bootable USB drive, but before we can start installing Ubuntu 20.04 LTS, we will need to download the required files and create a bootable USB drive.
Follow along this article to create and boot a live Ubuntu USB drive to install it easily.
System Requirements for Ubuntu 20.04
- 2 GHz dual-core processor
- 4 GB RAM (2 GB minimum)
- 25 GB of hard-drive space
- VGA capable of 1024×768 screen resolution
- Either of the two: a CD/DVD drive or a USB port for the installer media
- Optionally internet access is helpful
1. Download Ubuntu

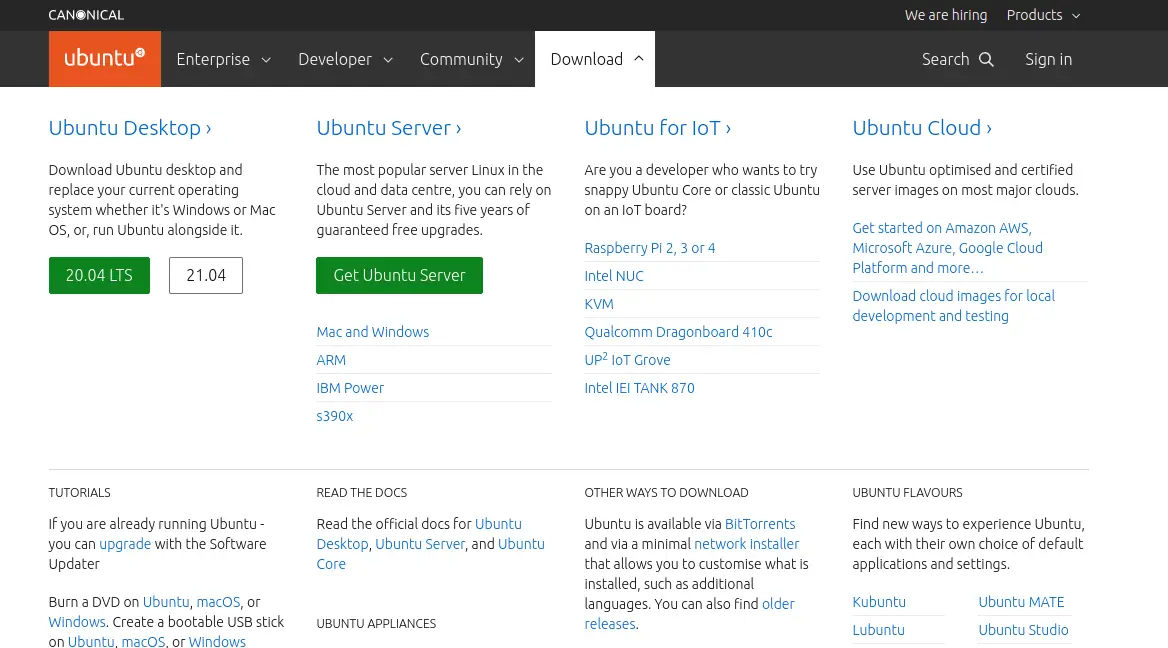
To install Ubuntu you first need to download its ISO file by visiting Ubuntu official website.
Under downloads section you will find two Ubuntu versions. You need to download Ubuntu Desktop as this is the one that we will continue our installation with.
The download size will be around 2.7 gigabytes so consider downloading via torrent if your internet connection is slow or unstable.
2. Make Ubuntu live USB
Now, after downloading Ubuntu, the very next thing we need to do is to make a live USB so we can continue our installation.
If you are on Linux, then right click on the ISO file and choose “Make a bootable USB” option.
Also Read: Install Webmin on Linux mint 20
Windows or Mac users can continue with the steps below.
You will need a software to flash ISO image on your USB drive. Download and install BalenaEtcher.
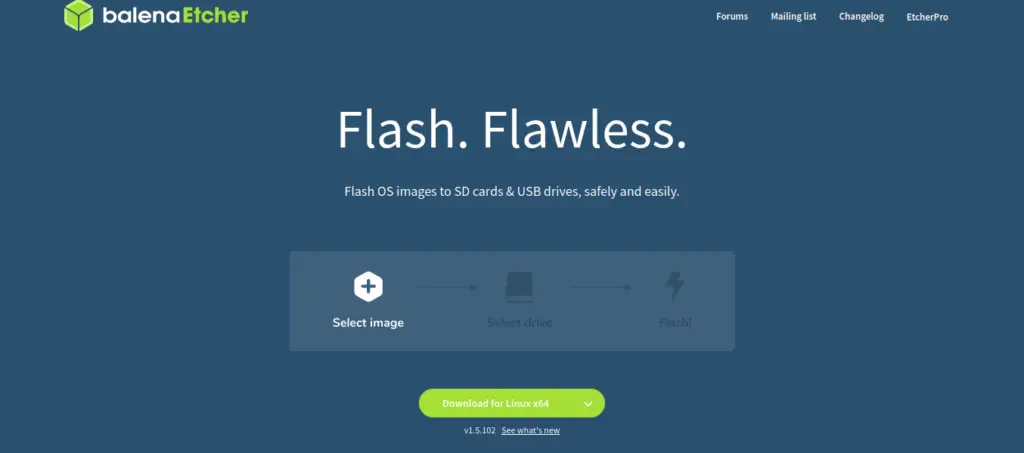
Now open BalenaEtcher from the start menu of your operating system or if you are on Linux, then open the app-image file by making it executable.
Click on Flash from file button, now open the directory you have downloaded your Ubuntu ISO file in.
Select your ISO file and click open. This will load our ISO file in the software so we can flash it in the USB drive.

Now click on the Select Target button. A pop-up will open, asking you to choose the USB drive that you want to flash Ubuntu 20 in.
Also Read: How to install VirtualBox on Linux mint 20
Remember, doing so will format and erase all the contents from your USB drive.
Choose an USB device with at least 4 G.B capacity. I recommend a device with higher capacity.
Now we are ready to flash and make our live USB. Click Flash! so it can begin making our live USB stick.
Also Read: How to Install OpenVPN on Linux mint 20
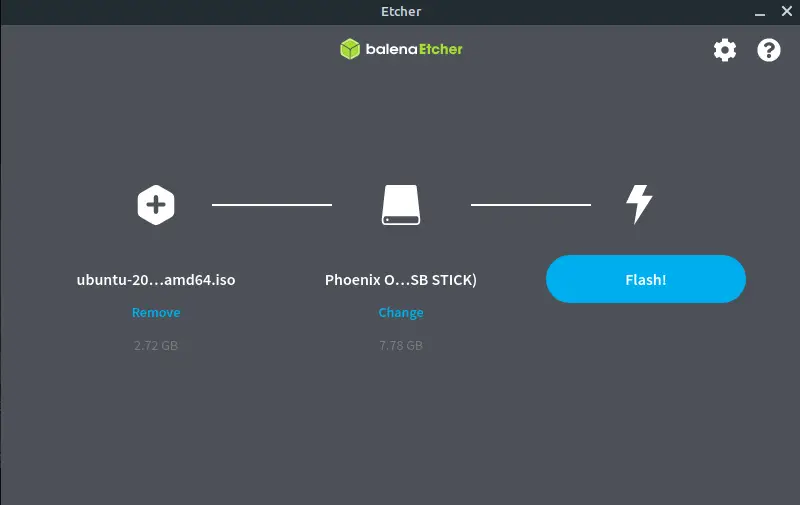
This will take some time. The estimated time is around 5 minutes, but it can vary depending on your computer’s USB port and your USB’s speed limit.
I had named my USB “Phoenix”, so its showing phoenix as the name of my USB drive.
Boot From Live USB
Once you are done setting up live USB, we can now boot from it and install Ubuntu.
To boot from this newly created live USB, shut down your PC and plug-in your USB drive.
Also Read: How to Install Tor on Linux Mint 20 and Ubuntu 20.04
Press F9 or F10 to get the menu to select your USB and boot from it .
Before your computer boots your current operating system (Windows, Mac, Linux) you should see your BIOS loading screen. Check the screen or your computer’s documentation to know which key to press and instruct your computer to boot on USB (or DVD)
Just select your USB using arrow keys on your keyboard and press enter.
3. Install Ubuntu 20.04 LTS
We have finished all pre-required steps and now we can start installing Ubuntu 20.04 LTS on our system.
You will see the below shown screen as soon as you boot from your USB.
Ubuntu will now check all files and your system for faults and if it is compatible with your computer. You can wait for the scan to finish or press Ctrl + C to skip it.

Our installation process begins here, choose the language that you want your installation process in.
You can try ubuntu before installing it, press Try Ubuntu if you want to try it before installing else press Install Ubuntu if you want to continue the installation.
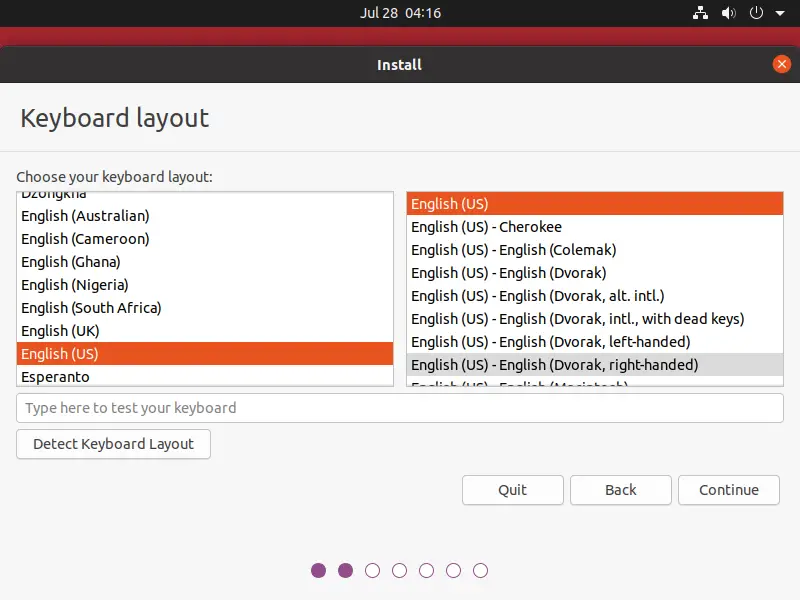
Now choose the keyboard layout that you want to work with. If you are not sure about which one to choose, then press Detect Keyboard Layout follow along the steps.
Press continue to go the next installation steps.
Select Normal installation and choose the other options according to your need.
If you want to update your system while installing Ubuntu itself then connect your PC to internet and choose Download updates option.
| Normal Installation | Install all softwares including media players, games and utilities |
| Minimal Installation | Just installs web browser and basic utilities. Takes less time. |
| Download Updates | Update all softwares while installation can be done manually after installation. Needs internet connection. |
| Install Third Party Software | Installs third party proprietary softwares. Install important drivers and media codecs. Highly recommended. |
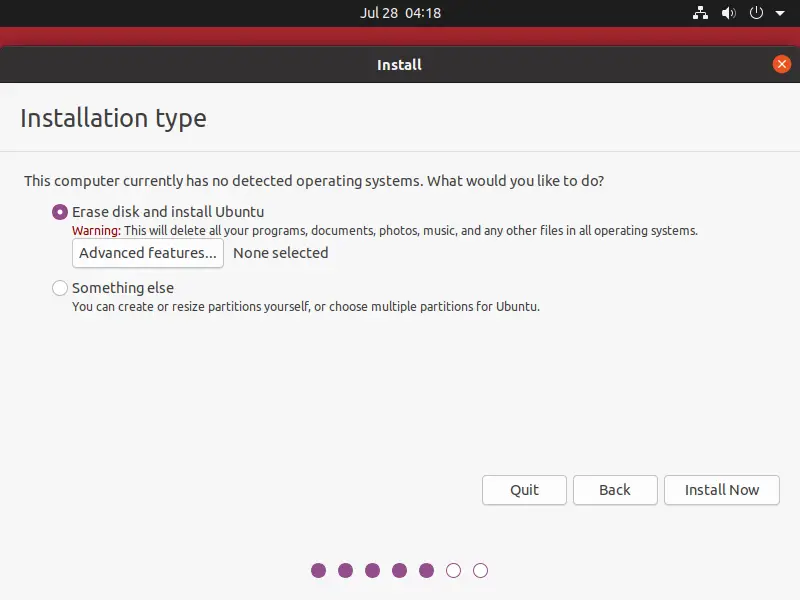
Now we need to define storage for our Ubuntu installation. If you want to erase everything on your disk, then choose Erase disk and install Ubuntu button.
Also Read: Install linux on android| No root | No Termux
This will erase everything from your hard disk. If you want to install Ubuntu alongside your current operating system, then choose Something else option and configure disk partitions.
Press Install Now to continue to the next step.
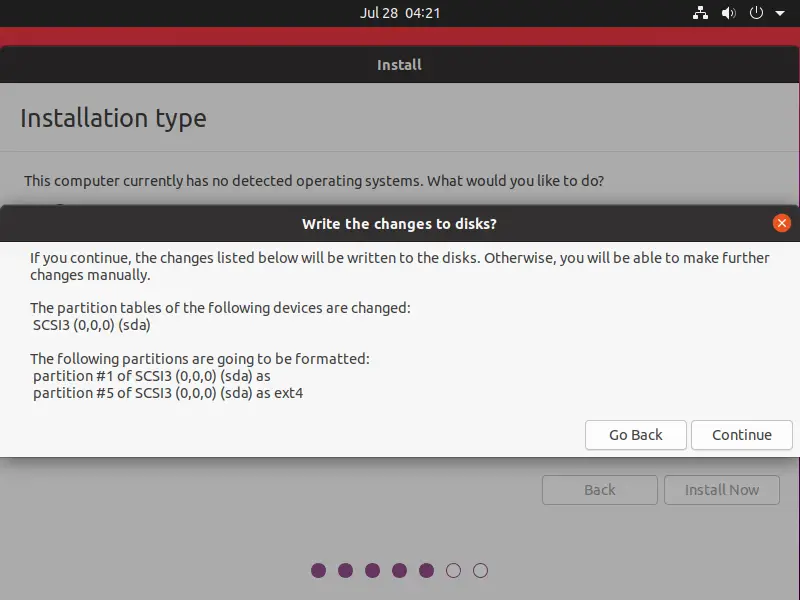
After pressing Install Now it will give you a warning that selected disk/partitions will be formatted. Click Continue to go to the next step where we will choose our location.
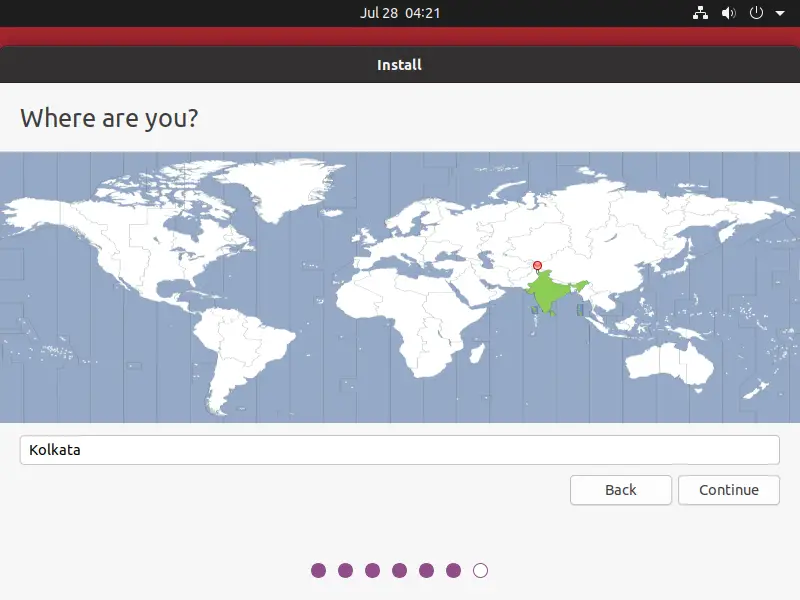
Drag the pin and choose your location. This will set your time settings. You can always change this later.
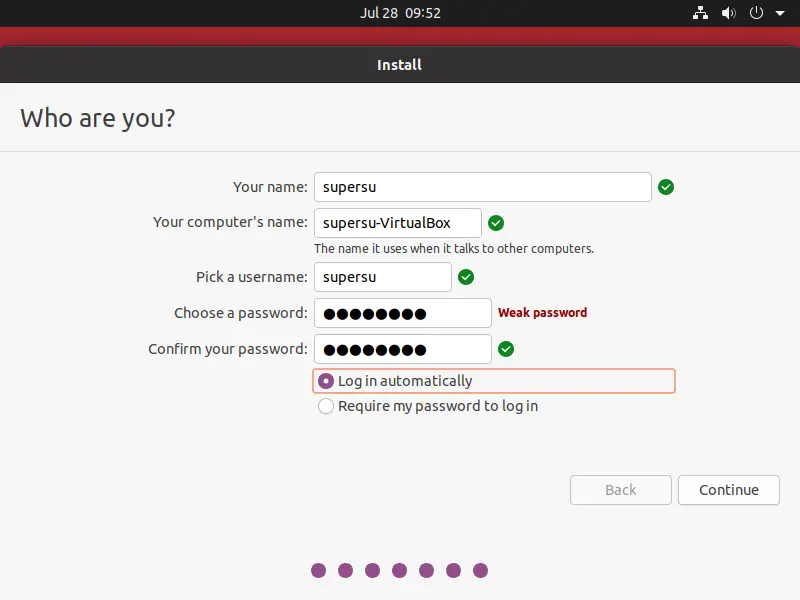
Now we will create the root user which will have administrative privileges and will be used by us for accessing our operating system.
Choose any username that you like and fill in a strong password.
If you don’t want to manually enter a password every time you start your PC, then choose Log in automatically option.
Suggested: Join TheLinuxCult Newsletter for Linux tips.
I do not recommend this option, as anyone with physical access to your PC can access your data.
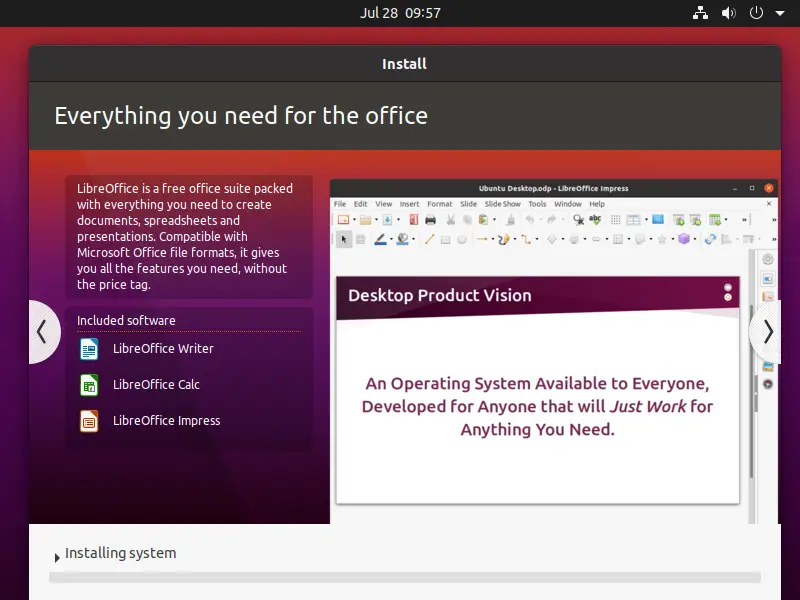
Ubuntu installer will start copying the files to the local disk so that in case of USB failure the installation can still continue.
After the copying of files is complete, the installer will finally start installing Ubuntu 20.04 LTS on your system.
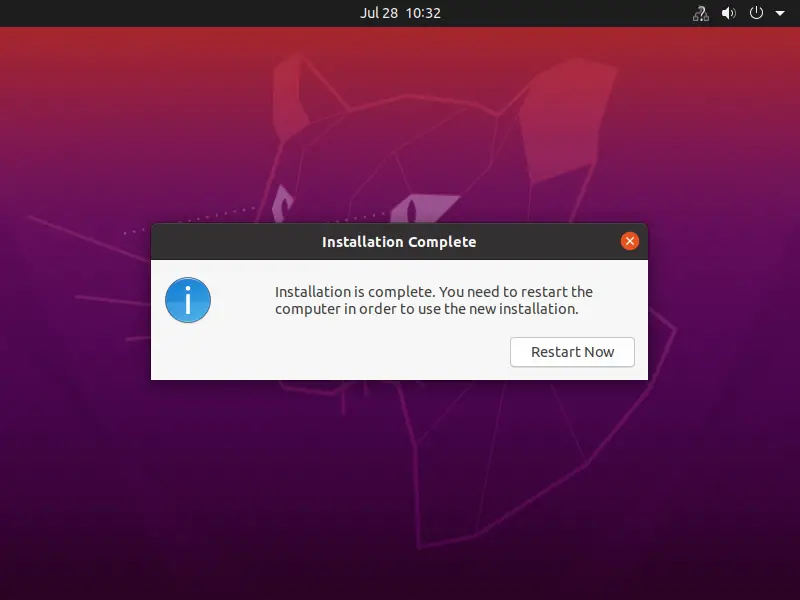
The installation will take some time to complete once it is completed the installer will close automatically close and you will receive a pop-up message asking to restart the system.
Click on Restart Now to immediately restart the system.
Recommended: Join our Discord server.
Now it will ask you to remove the installation medium, and press Enter. Remove the USB stick from your PC and hit Enter.
This will restart you PC; now you can use Ubuntu 20.04 LTS easily on your computer.
Conclusion
To install Ubuntu 20.04 LTS you first need to download it’s ISO file and make a live USB from it.
After making the live USB boot from the USB drive and begin installing Ubuntu.
You can decide whether you want to erase the whole disk or want to install Ubuntu alongside your current operating system.
Consider subscribing to our newsletter if you want to receive more Linux tutorials like this straight in your Inbox.