You can install WordPress on localhost using a PHP development server and a MySQL server on Linux mint and Ubuntu.
Settings up WordPress this way can be frustrating and lengthy, and probably not the best way to do it.
You can use XAMPP to install WordPress manually without needing to separately install MySQL and PHP server, but you will still need to configure WordPress to work on these and carry on with the manual process of installation.
Also Read: Install themes in Linux mint – All possible ways.
The best way to install WordPress on localhost on Linux mint/ Ubuntu is to use Bitnami WordPress stack.
Bitnami WordPress stack automatically installs and configures WordPress on localhost.
You can choose the port that you want to use with WordPress and it automatically installs Varnish cache which is a high performance caching system.
The only thing that you will need to do is to just install Bitnami WordPress in the folder of your choice. It is available for almost all linux versions, but in this article I am going to specifically going to install it on Linux mint / Ubuntu.
The Bitnami WordPress Stack provides a one-click install solution for WordPress. You can launch WordPress on a Virtual Machine, localhost or on the cloud using Bitnami WordPress.
Also Read: How to Install and use Web Apps in Linux mint
Now lets get straight to the installation instructions, follow the below instructions to install WordPress on localhost using Bitnami WordPress stack.
Install WordPress on localhost on Linux mint or Ubuntu
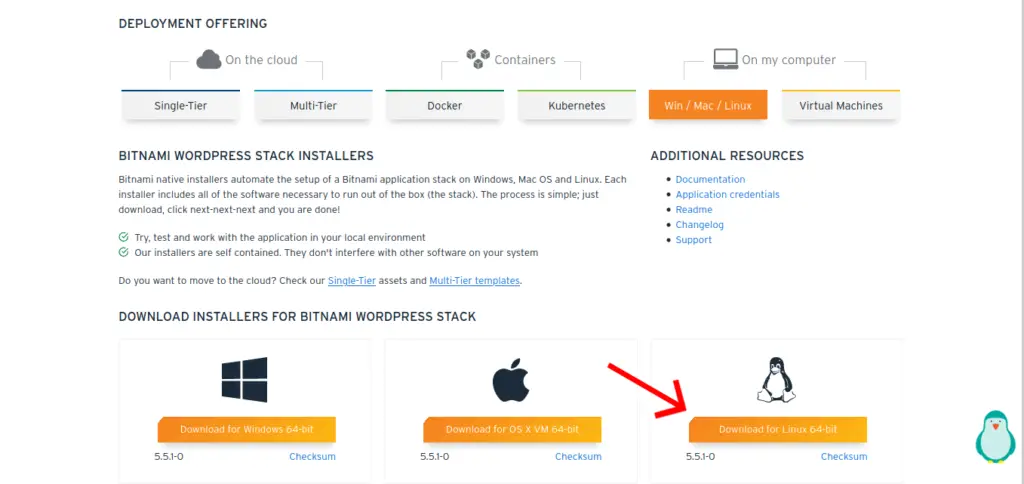
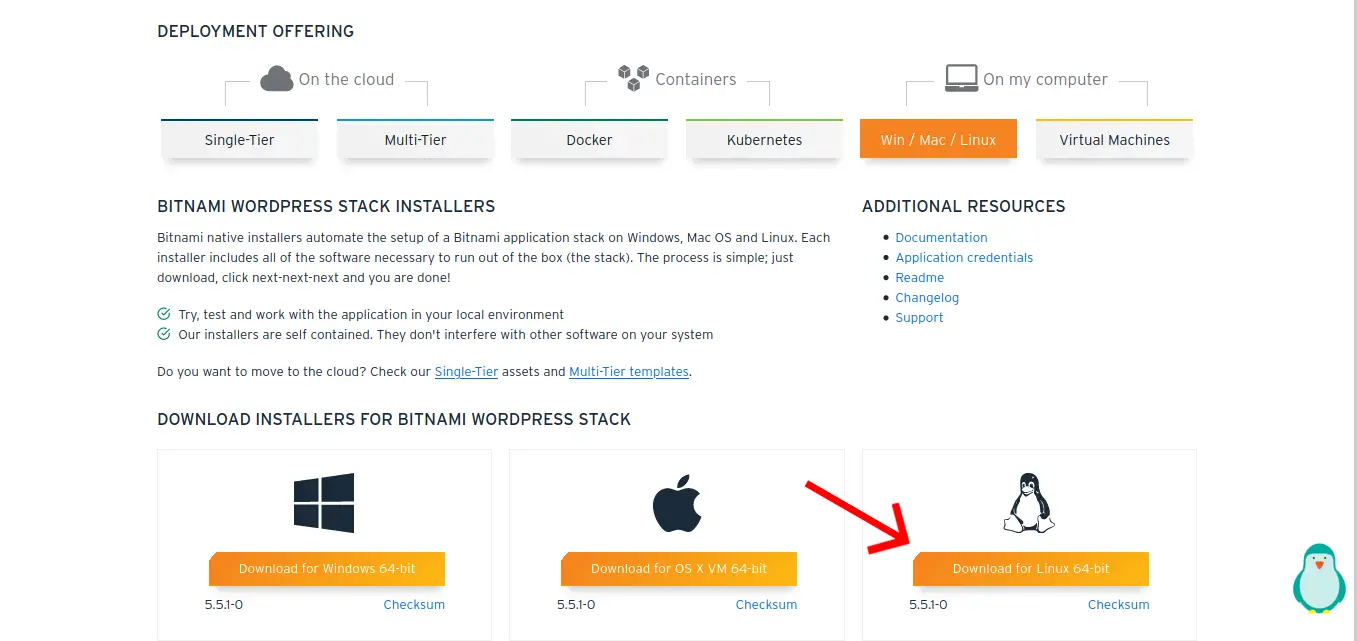
Click on the link below and download Bitnami WordPress stack for linux. It will automatically identify your linux system and provide you the appropriate download file.
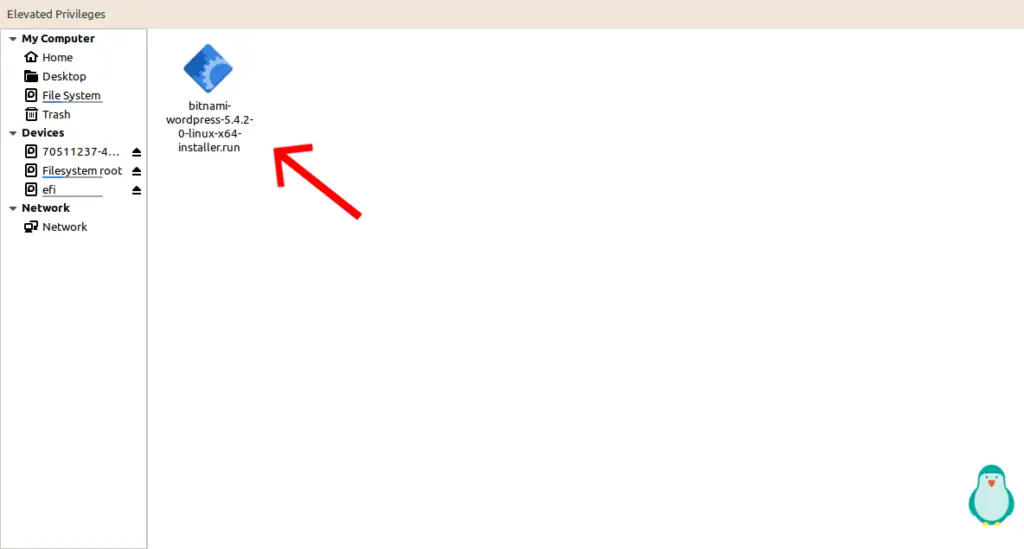
Bitnami WordPress needs to run as the root user in order to install wordpress. Open it in root by right clicking in the file manager and choosing “Open as root”. Then open Bitnami WordPress by just double clicking it.
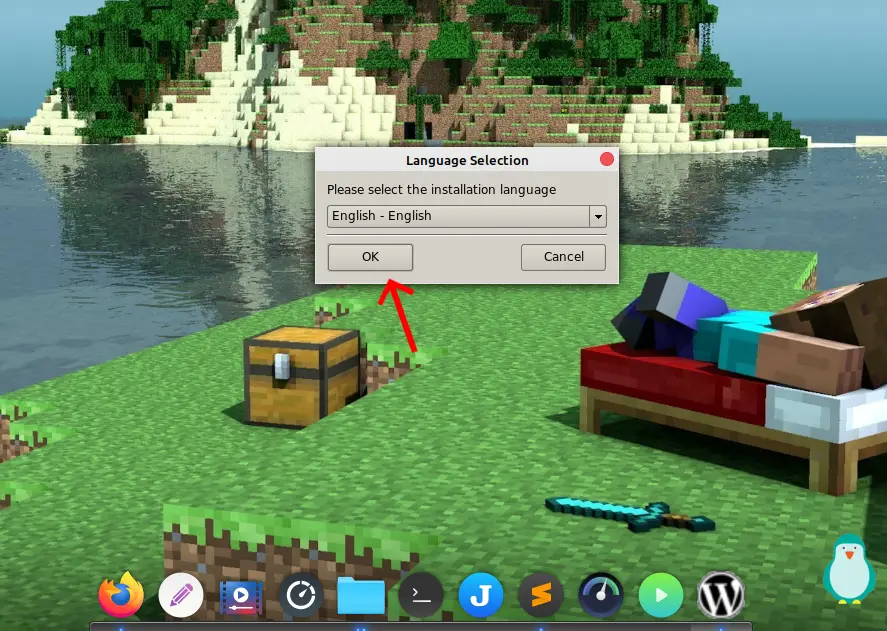
Choose the language that you want to continue the installation in. English is the default value.
Also Read: How to customize the Linux terminal (With Pictures)?
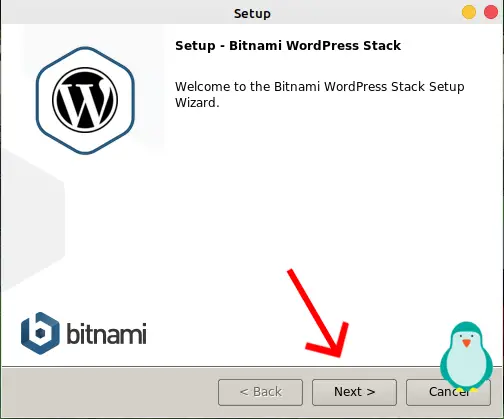
The setup wizard will show up shortly after. Click Next to begin the installation or click Cancel to abort.
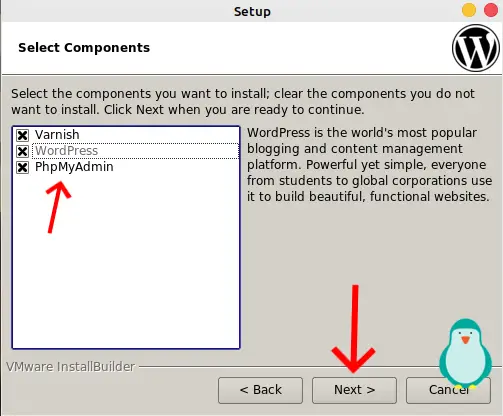
Select the components you want to install. Varnish is an excellent cache plugin that you can install to enable cache and PhpMyAdmin is used to manage a database manually.
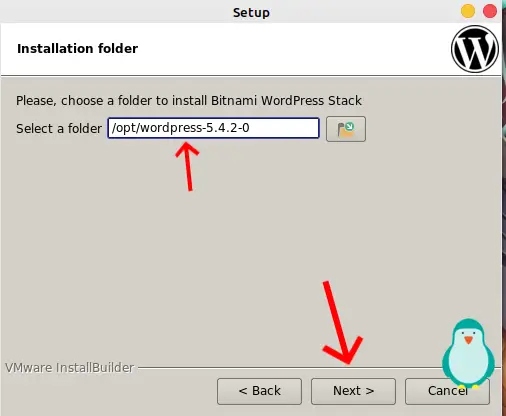
You can choose a custom directory where you want to install wordpress or you can leave it to default. The default installation path is in /opt/ .
You will need to access this directory in future in order to manage our server.
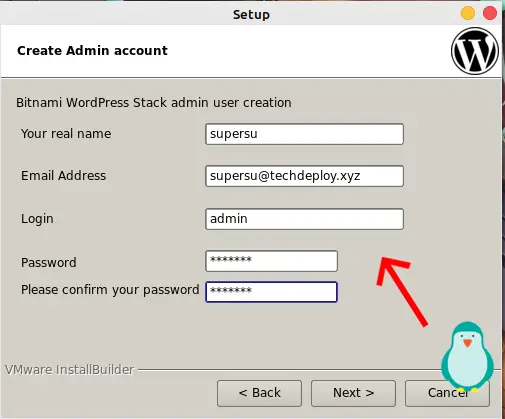
Now create an admin user by filling in the required details like email address, your name, password, etc. You can change this later from WordPress settings.
Also Read: Best blue light filter for Linux – Gammy
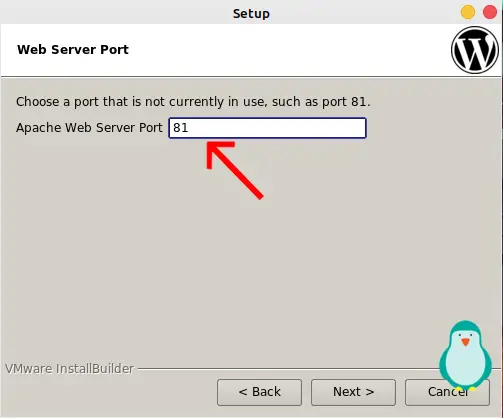
Select a port for you to access WordPress from. If you leave it to port 80, which is the default port in case, it is not taken by some other application you can access WordPress from “http://localhost/” else you can access your installation at “http://localhost:port“.
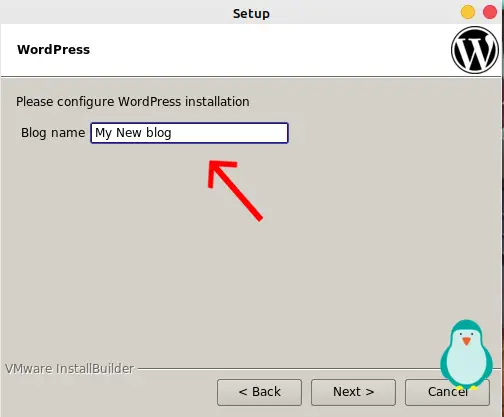
Now give your localhost website a name. It can be changed anytime later.
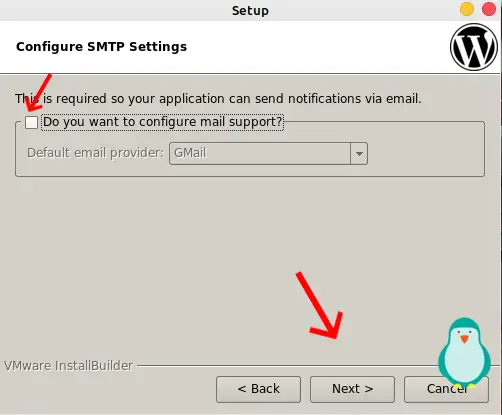
It will now ask you if you want to configure mail support or not. If you want to configure, then mark the checkbox and fill in your mail username and password.
Also Read: How to Install Godot in Ubuntu and Linux Mint 20
I am leaving this empty as I don’t need to use email on a localhost website.
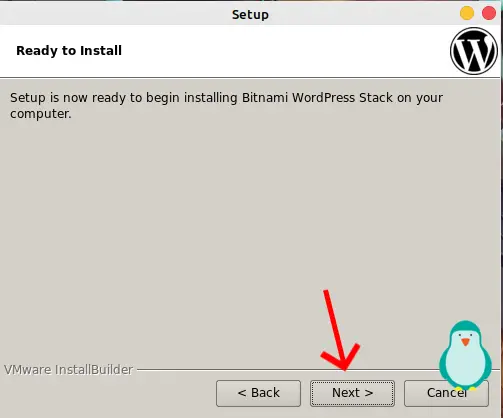
It is now ready to start installing WordPress on our system with the information that we provided it. Click next to continue.
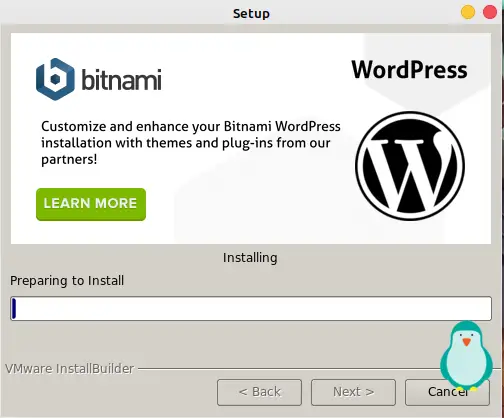
The installation process has now begun. It will take less than 5 minutes for the installation to complete.
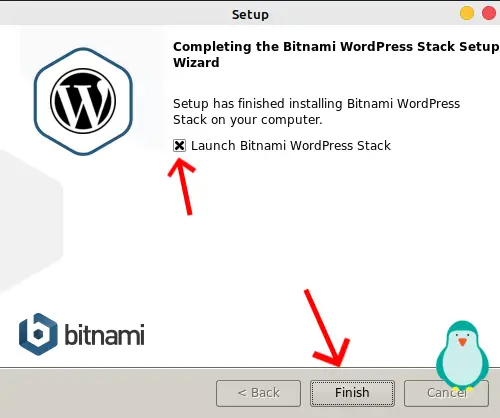
Once the installation is finished it will ask you if you want to launch Bitnami WordPress Stack now. Mark the checkbox and click Finish.
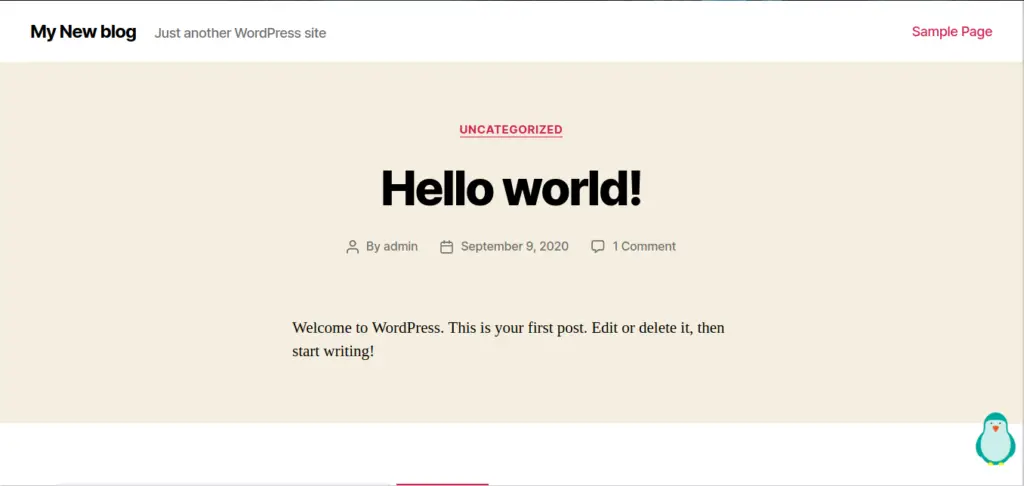
After the installation, you will see a configuration menu for your server. You can start or stop the server from there.
Go to http://localhost/ or http://localhost:port where port is the number that you specified during installation. Here you can see your installation and now you can log into your WordPress installation.
To open back the configuration menu go to the directory where you installed WordPress, open it as Root and open the application with the name “manager-linux-x64.run”, this will open the same configuration menu that appeared after the installation finished.
Uninstall WordPress from your computer
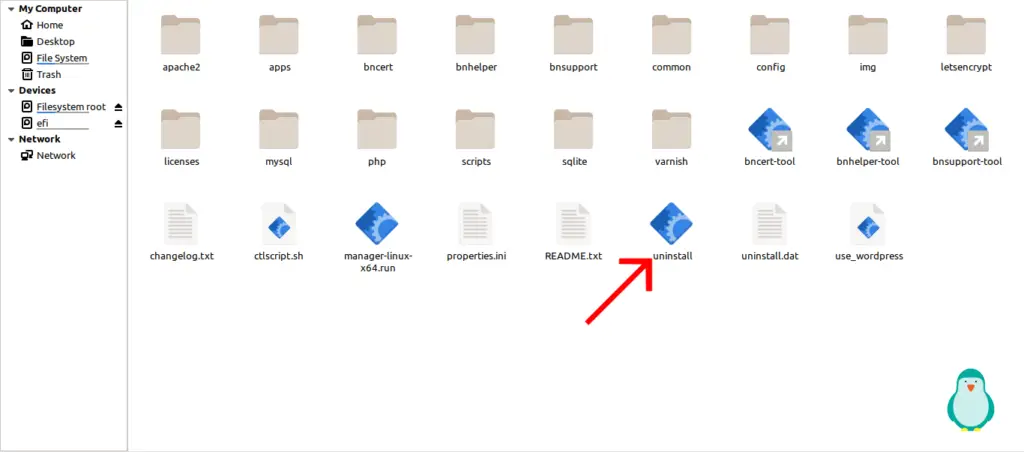
To completely remove WordPress from your system, go to and open the directory as root where you had installed WordPress and click on Uninstall.
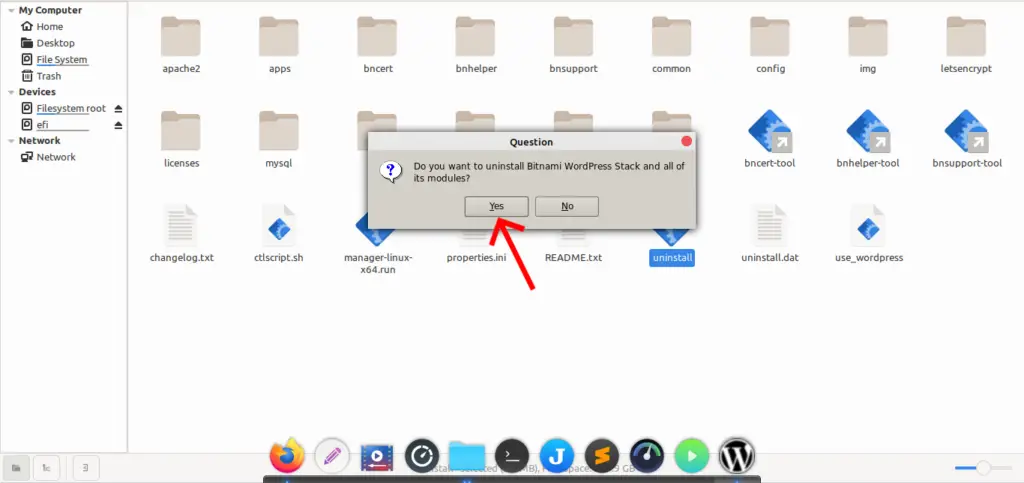
Click Yes to continue the uninstall but remember, you can’t undo this and your whole data will be removed.
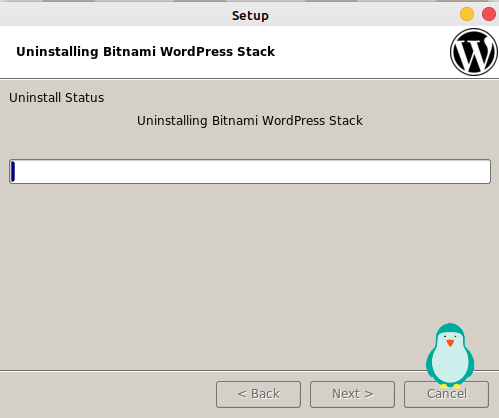
It will take less than 2 minutes the Uninstaller to finish uninstalling WordPress from your device.
I hope this article helped you install WordPress on localhost in Linux mint. If you have any doubts or questions leave them in the comments below.
