Linux Mint is a community-driven Linux distribution based on Ubuntu or Debian.
Linux Mint comes bundled with a variety of free and open-source applications and can provide full out-of-the-box multimedia support for those who choose to include some proprietary software, such as multimedia codecs.
The project was created by Clément Lefèbvre and is being actively developed by the Linux Mint Team and community.

It features a modern and beautiful desktop user interface called “Cinnamon”. It is a responsive desktop environment that is unique to Linux mint.
Cinnamon is easy to use and learn, for those who are shifting from Windows to Linux.
Linux Mint is also one of the most stable Linux distros with software repositories containing 50000+ software.
This tutorial is focused on installing Linux Mint 20 in a Virtual environment for which we will use Virtualbox which is a free and open source professional tool for creating virtual machines.
Also Read: How to install Webmin on Linux mint 20
This tutorial assumes that you have already installed virtualbox and if not then before continuing consider installing it.
Go to Virutalbox.org and download the supported version of virtualbox for your operating system and install it before following this tutorial.
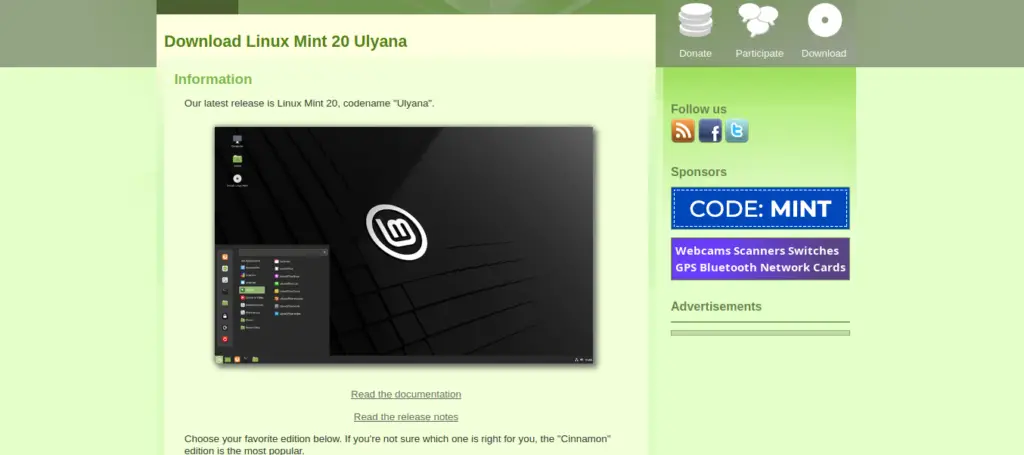
1. Download Linux Mint 20
For the sake of this tutorial, you need to download Linux Mint 20, you can get it from their official website. The download size for Linux mint is approx 2 G.B.
Go to linuxmint.com and download Linux mint 20 as this is the latest release.
You can download Linux mint in three variants, i.e. Cinnamon, Xfce and Mate . Choose the one that is most compatible with your desktop. If you are unsure, then choose Cinnamon as it the most popular one.
Linux Mint can run on low-end PC. However, if your PC has less than 4 G.B RAM then consider choosing Xfce or Mate as they can work fine on very low hardware but if you have a good PC then Cinnamon is perfect for you.
2. Setting up VirtualBox for installation
Now, as we have both of our tools Linux Mint 20 and VirtualBox downloaded and ready, we can begin our installation.
We need to set-up and configure Virtualbox before installation.
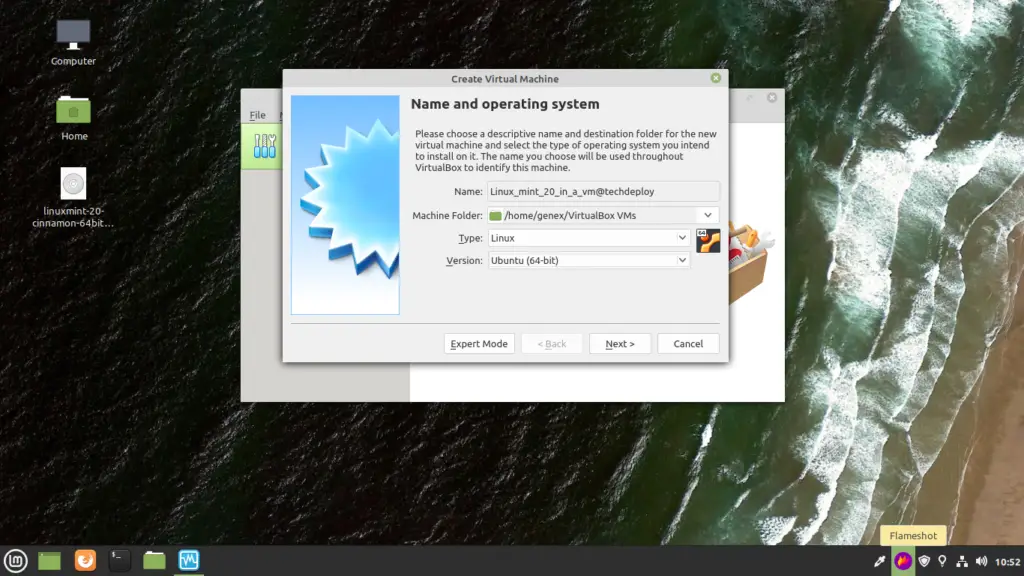
For this open Virtualbox and click on the “New” button as shown in the picture below.

Now it will ask you to fill in some details related to your operating system.
In the “Name” field fill any name that you would like to give to this installation of Linux mint 20 and leave the “Machine Folder” as it is.
As we are installing Linux mint, which is based on Ubuntu; for “Version” choose Ubuntu (64-bit) and set the “Type” as Linux and press Next.
You can take reference from the picture below.
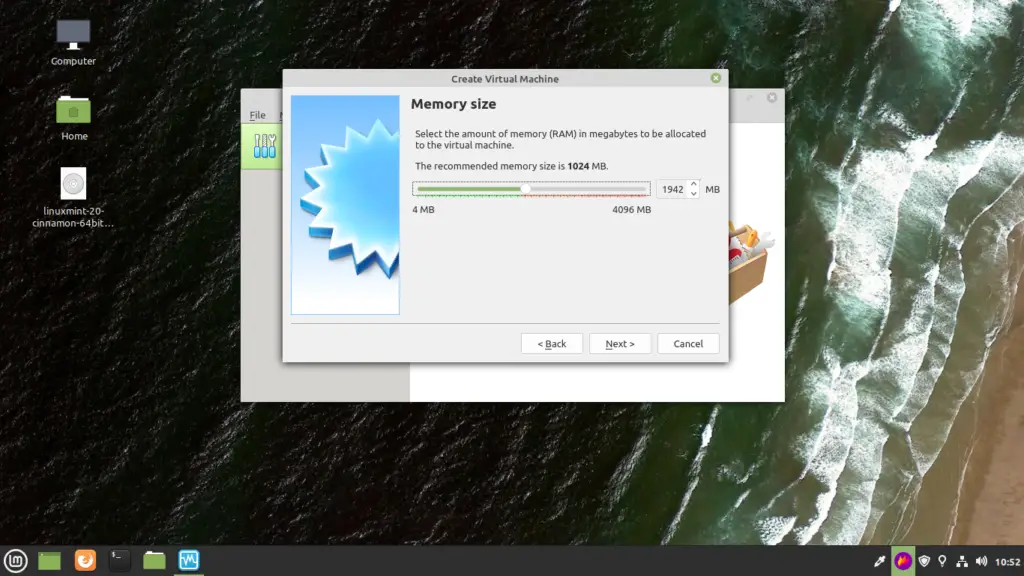
Now we need to allocate memory to our virtual operating system as shown in the picture below. This is the amount of RAM that Linux Mint 20 will get in our virtual environment.
You can set it according to your needs but don’t set it too low or we will have difficulty installing Linux Mint 20.
Also Read: How to install VirtualBox on Linux mint 20
If you are not sure how much RAM you should allocate to your virtual machine, then allocate less than 50% of your system’s total memory to virtual machine.
Now set the amount of RAM and click NEXT. You can always change this later.
We will need to create a virtual hard disk to install Linux mint 20 in virtualbox.
Virtualbox have an in-built feature to create a virtual hard disk.
Begin the creation of a virtual hard disk by selecting “Create a Virtual hard disk now“. Click the button “Next” to complete this process.
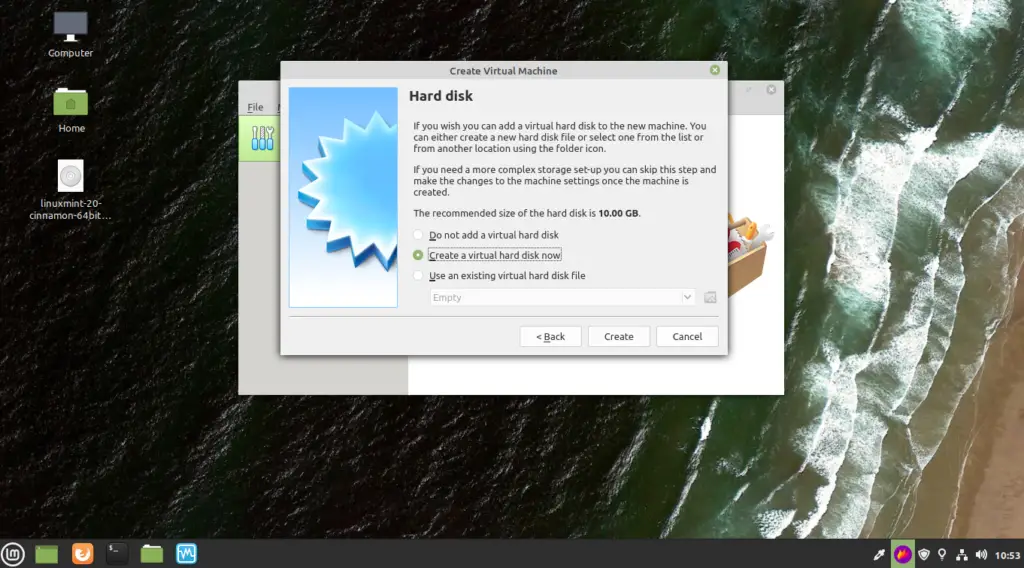
In the next step, it will give you three different options to choose from. The other two are for advanced users and we will continue with VDI(Virtual Disk Image) option.
You can not change this later, so choose this wisely or continue with the default value VDI.
If you want to save some space on memory, then choose “Dynamically Allocated“. This option creates a dynamically allocated virtual hard disk that will use space on your physical hard disk only when it is filled.
“Fixed Size” hard disk will instantly fill the amount of space that you will allocate it in the next step.
The best option is to choose “Dynamically Allocated” and click “Next”.
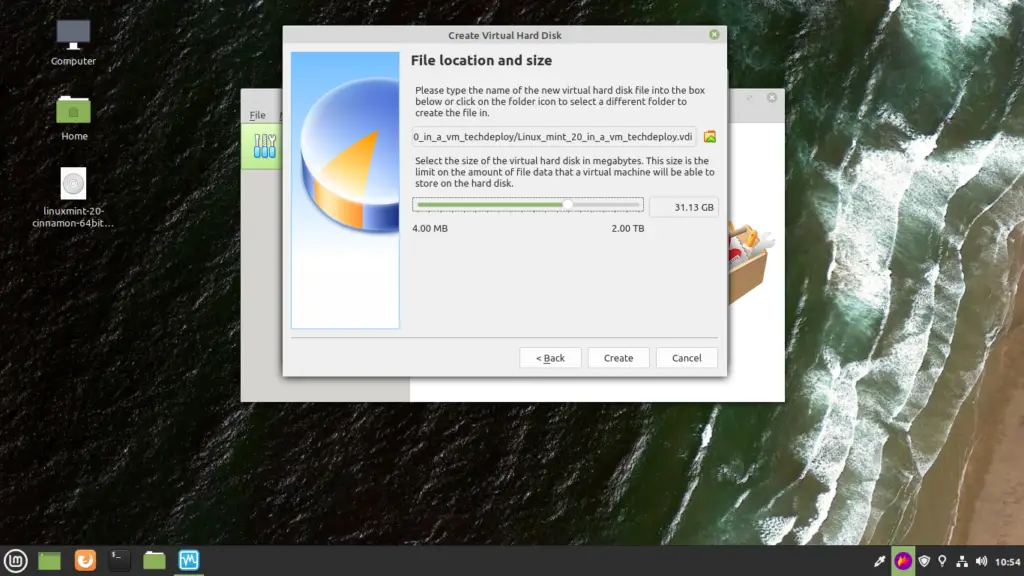
This is the last step of creating Virtual hard disk for Linux mint. Define the size of your virtual hard disk.
Also Read: How to Install OpenVPN on Linux mint 20
If you are installing Linux mint 20 in virtualbox for testing purpose, then 10-20G.B. should be enough. You can not change this later, however, you can allocate more space to your virtual machine by creating a new hard disk and assigning to your VM.
Select the size of virtual hard drive and click Next.
As soon as you click “Next” the pop-up will now close and you can see our virtual machine listed in the virtualbox menu.
We are now ready to do pre installation set-up for linux mint 20
Now choose the virtual machine that we just created and click the settings button.
You can find the settings button near the “New” button or by right clicking and selecting “Settings”.
Also Read: How to Install Tor on Linux Mint 20 and Ubuntu 20.04
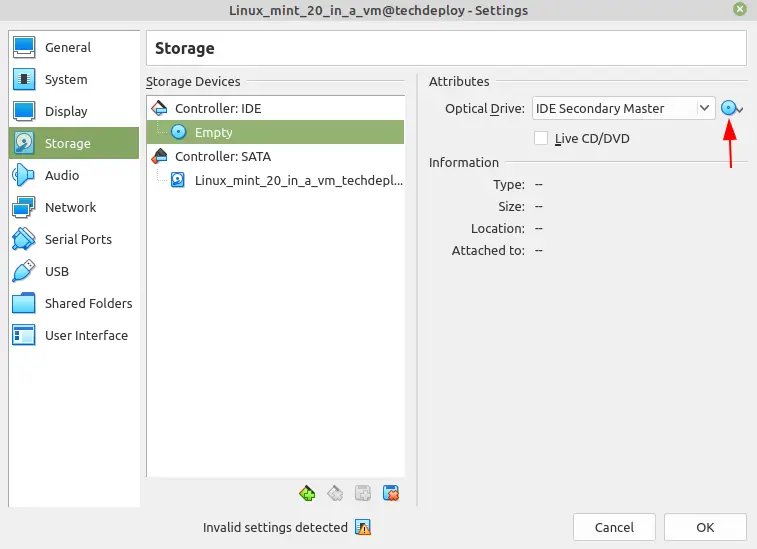
The settings menu will appear from here, go to Storage and under “Controller:IDE” click on Empty disk. Use the image below as reference.
Now from the side pane click on the disk icon and select “Choose a disk file” as shown in the picture below.
You must have your Linux Mint 20 ISO file ready as it will be necessary for the next step.
A pop-up window will open, locate and choose the Linux Mint 20 ISO file that we downloaded at the beginning of this tutorial. Now click ok to close the pop-up and once again click OK in the settings menu to save our settings and close this menu too.
We are now fully ready for installing Linux mint 20 in virtualbox.
3. Installing Linux Mint 20
Now we will begin installing Linux Mint 20 in virtualbox. For that select the Virtual machine that we just create and click on “Start” button.
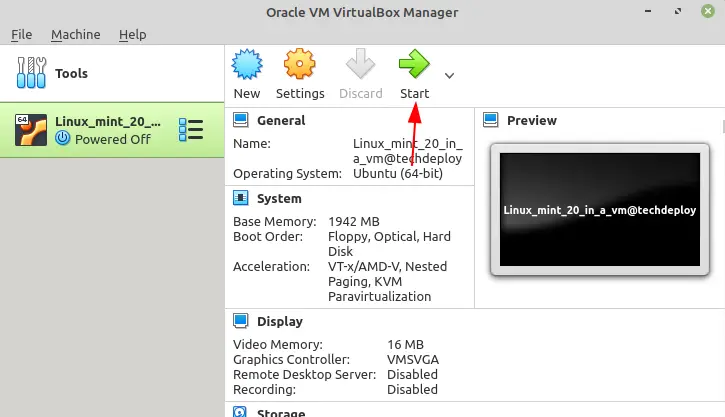
Our installation process has now started. It will take some time for Linux mint to start.
Also Read: Best free wordpress themes for a tech blog
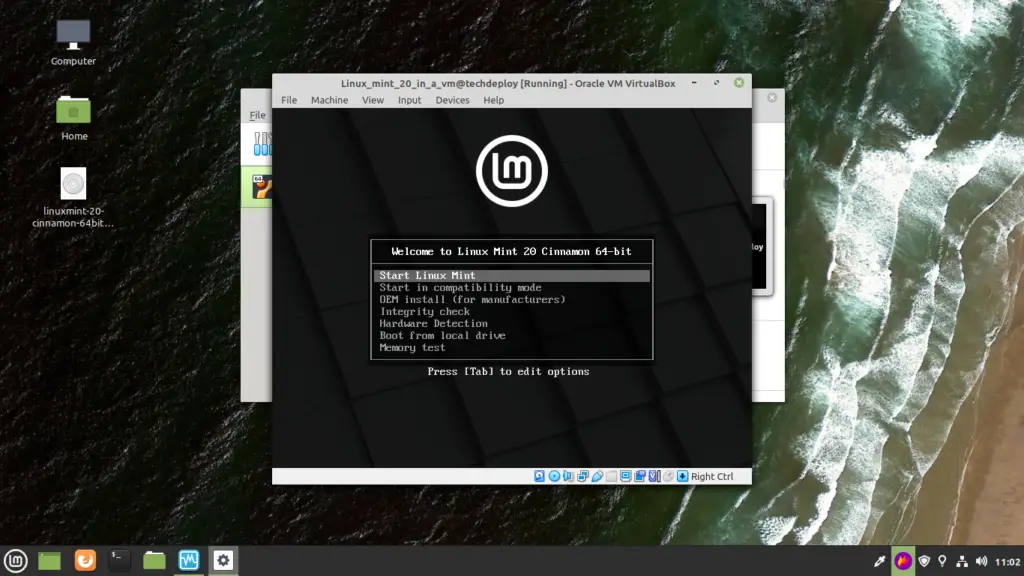
After it boots up, you will see a menu as shown in the picture below.
To install Linux mint, we first need to boot into the live environment; from there, we can finally install Linux mint. Select “Start Linux Mint” with arrow keys on your keyboard and press Enter.
It will take some time for Linux mint 20 to boot up. But once it has booted up, you can check out its features in the live mode.
You can check out every feature of Linux mint in live mode before installing, however the changes you make will not be saved on disk.

Now click on the “Install Linux Mint” icon. This is the beginning of installing Linux mint to our Virtual disk.
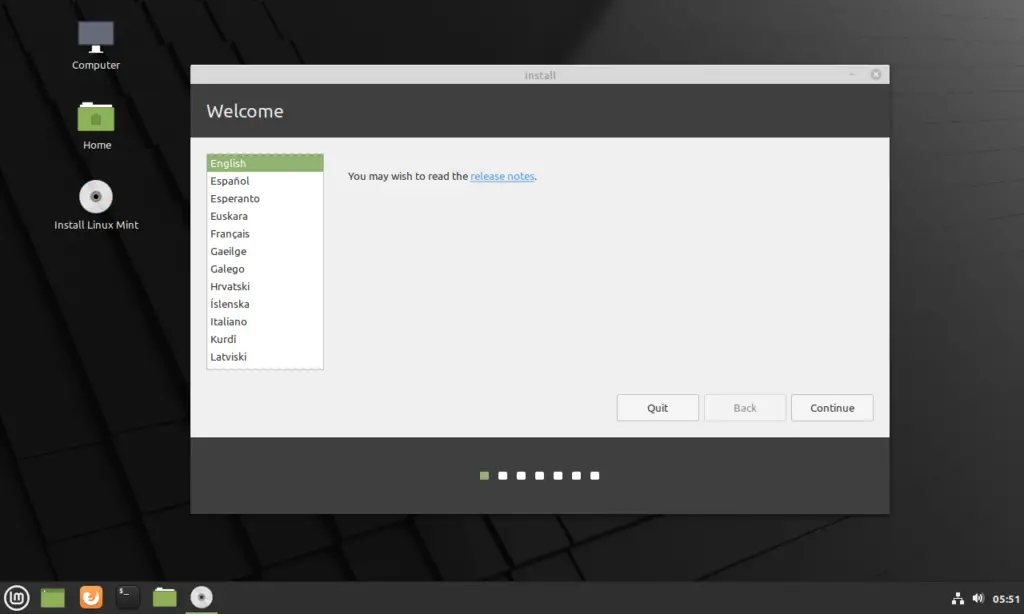
Choose the Language that you want to install your Linux mint in and click “Continue“.
Now in the next step we have to choose a keyboard layout for our system. You can always change these settings later, choose the default keyboard layout or click on “Detect Keyboard Layout” as shown in the picture below and follow the instructions.
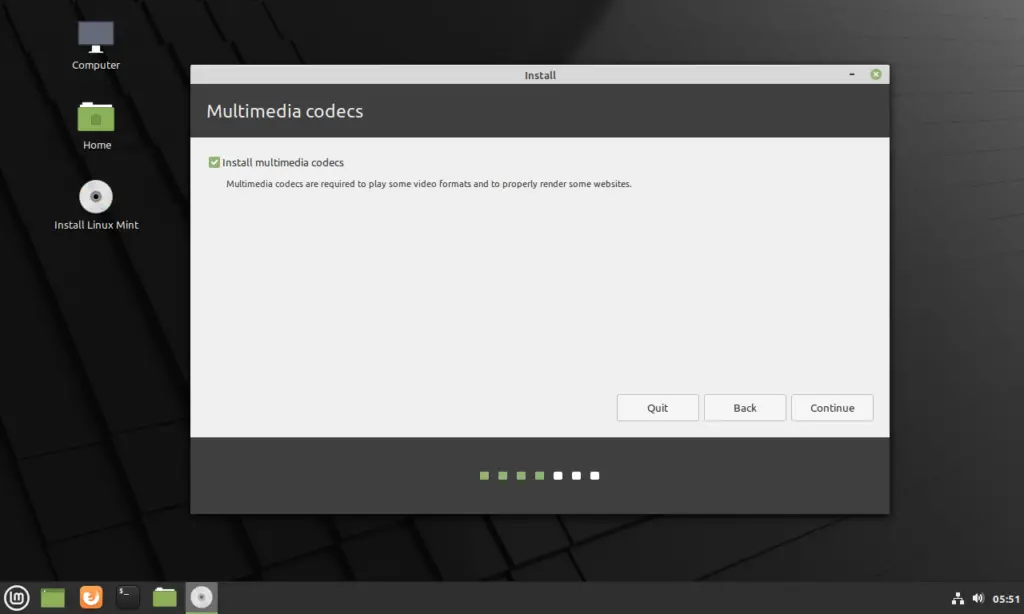
After clicking Continue, the installer will take you to the next step where you will get an option to install proprietary media drivers and codecs.
Select the “Install Multimedia Codecs” checkbox and press Continue.
Now we have to choose if we want to erase disk and continue installation. As we have no other operating system installed on our same virtual hard drive in Virtualbox, we will choose “Erase disk and install Linux Mint”.
If we were installing Linux mint 20 on our system without virtual environments, then we could have done this without erasing the data on our disk.
Also Read: How to install Ubuntu 20.04 (with pictures)?
You will receive a second confirmation asking if you are sure about erasing the disk and continue installation. Choose Continue and click the “Install Now” button.
In the next step, choose your location. Drag the red pin on the screen by clicking your country.
This does not affect your experience with Linux mint, and if you even set it wrong, you can always change this later.
Now press continue to set-up user and system details.

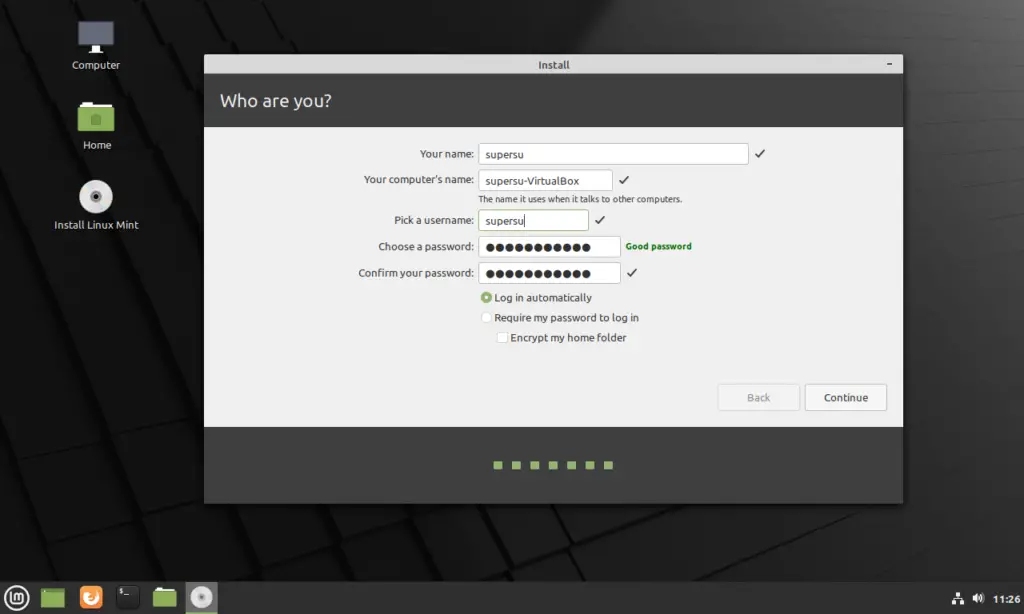
Now this is the time to create a user. Choose a username and password and fill all the other details. Remember to make your password strong.
Also Read: How to host your own website using android
If you don’t want to type your password manually every time you start your Virtual Machine choose the “Log in automatically” option.
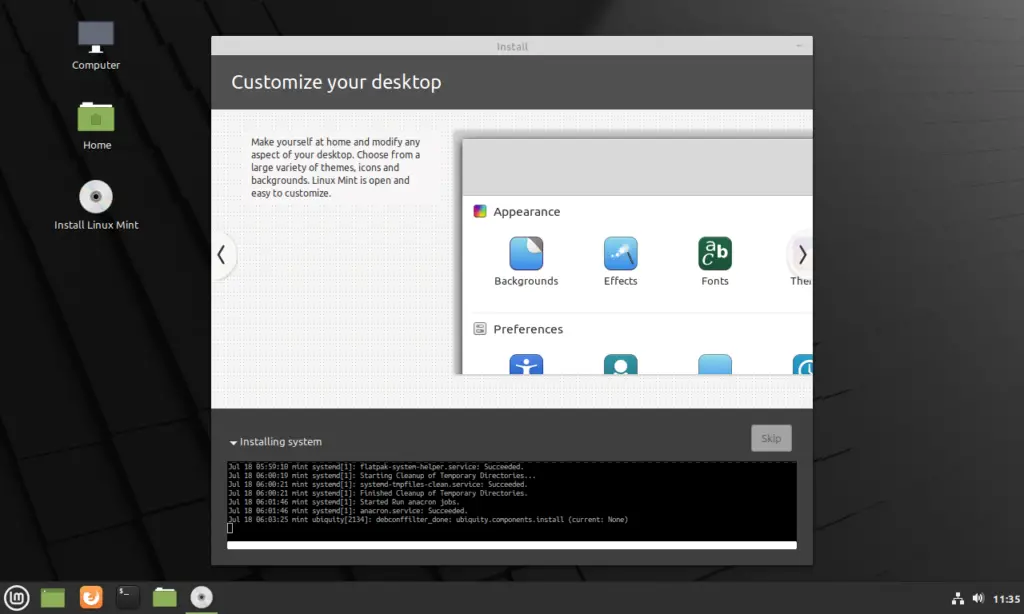
This was the final configuration, now Linux mint 20 installation will begin.
It will take some time for the installation to complete, the installer will copy all the files from ISO to the disk, will create a user, set-up required packages, etc..
If you are connected to the internet, then the installer will automatically start downloading language packs which can lead to increased installation time.
To avoid this either disconnect from the internet or press the skip button that will appear after it download files.
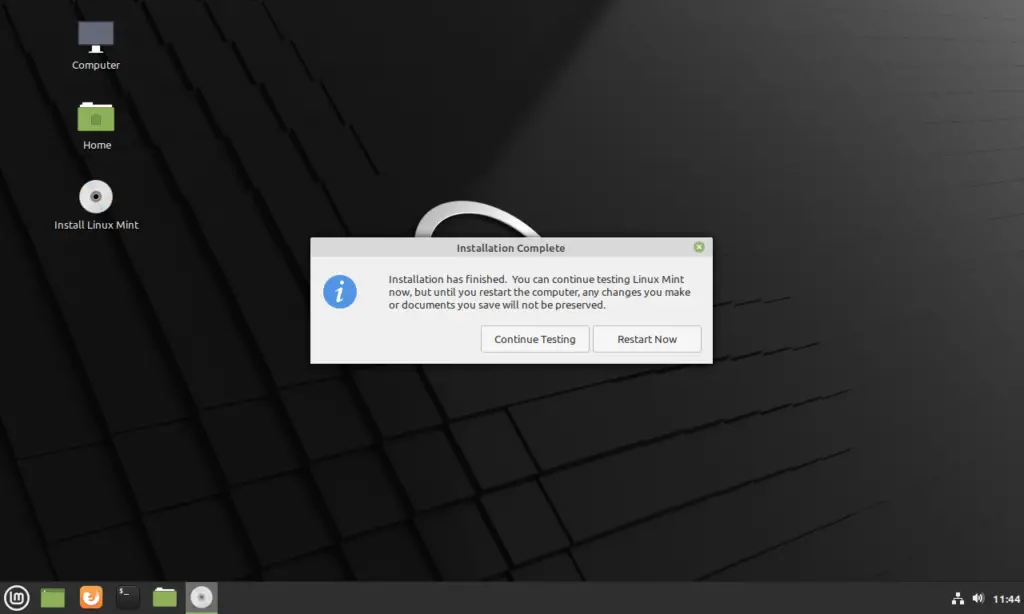
After it has finished installing Linux mint, which usually takes around 10 minutes it will ask you if you want to continue testing or you want to Restart now.
Choose restart now so we can get out of live boot and can use linux mint 20 in our virtual box.
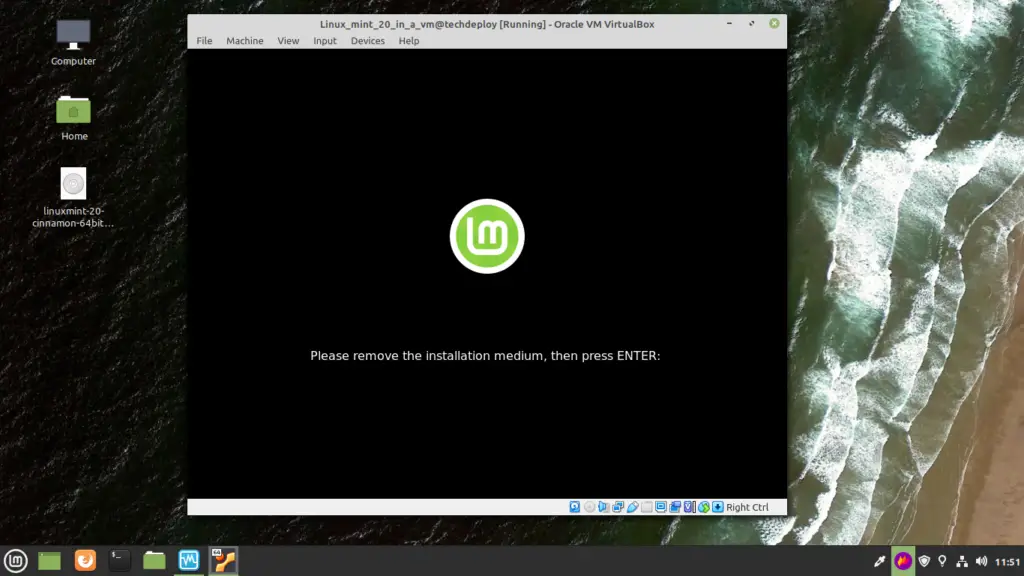
After you press the button for Reboot or Shutdown, you will receive a message as shown in the picture below saying that remove the installation medium and then press Enter.
We will not add extra steps to this and simple just close Linux Mint 20 by clicking the close button on our Virtual environment and then choosing Power off machine.
Congratulations, our installation of Linux mint 20 in virtualbox is now complete.
Suggested: How To Install WordPress – The full beginner guide.
You can now start Linux mint 20 by choosing it in the Virtualbox menu and clicking start. You will no more go into the live boot and now you can use Linux mint 20 in Virtualbox.
Share this article and drop your questions and opinions in the comments below.