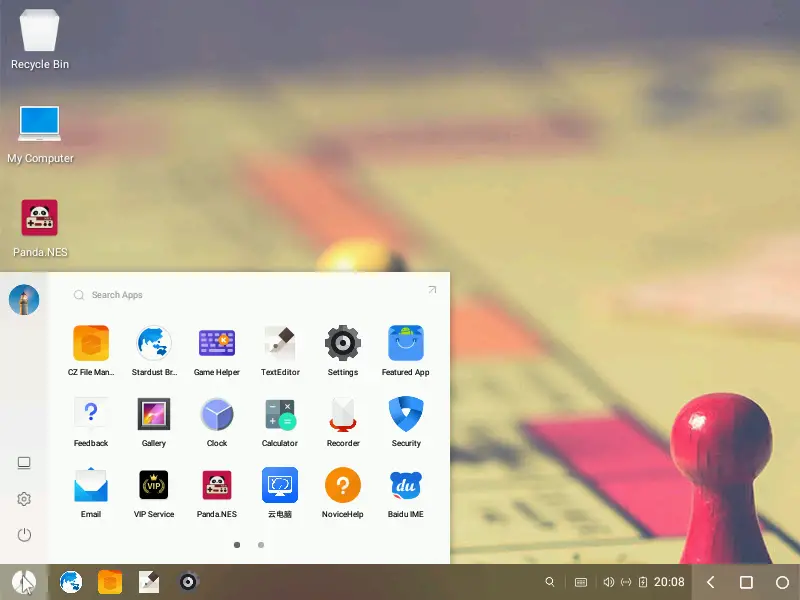
Phoenix OS is an operating system based on Android x86 project. It allows you to run android on your PC without an emulator.
You can either use Phoenix OS as your daily driver or you can dual boot it with Linux mint.
It is free to download however the free version will contain ads. It will show you ads before opening any app, this a quite an irritating thing but can be resolved by purchasing its premium version.
Also Read: Best blue light filter for Linux – Gammy
You can use Phoenix OS to play games built for android on your PC or you can use it just to install some productivity apps.
Before we can dual boot Phoenix OS with our Linux system make sure you have created a backup of your system in case anything went wrong.
System Specifications
Here is a list of Minimum system specifications your system should meet in order to run Phoenix OS.
- 2 G.B minimum RAM, 4 G.B is recommanded
- At least 6 G.B. Free space on your HDD or SDD, 8 G.B is recommended.
- Intel Dual core i3 is recommended.
- A 4 G.B Pendrive.
Install Grub to configure Phoenix OS
We need to install Grub customizer on our system before we install Phoenix os.
Using grub we can enter Phoenix OS entry in the grub menu. This will allow us to boot Phoenix OS instead of Linux mint.
We will install grub-customizer so that we can edit grub entries manually and make an entry for Phoenix OS.
Open terminal and enter the following commands to install Grub-customizer, one by one.
Also Read: How to create a Linux live USB (With Pictures)?
sudo add-apt-repository ppa:danielrichter2007/grub-customizer

sudo apt-get update

sudo apt-get install grub-customizer
Configure Grub for Phoenix OS
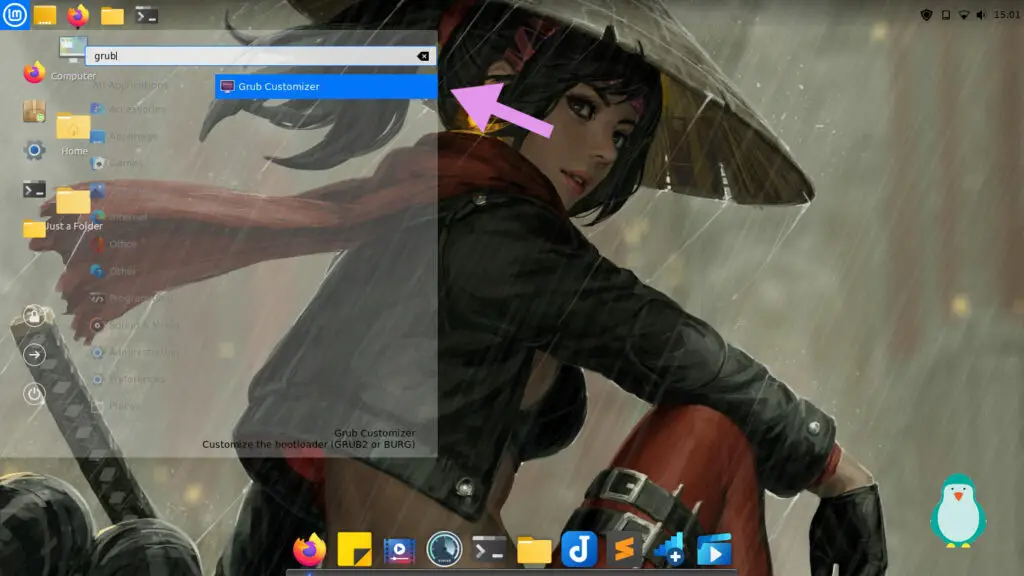
Open the Grub-customizer from the mint menu or type the command below in the terminal to start grub.
sudo grub-customizer
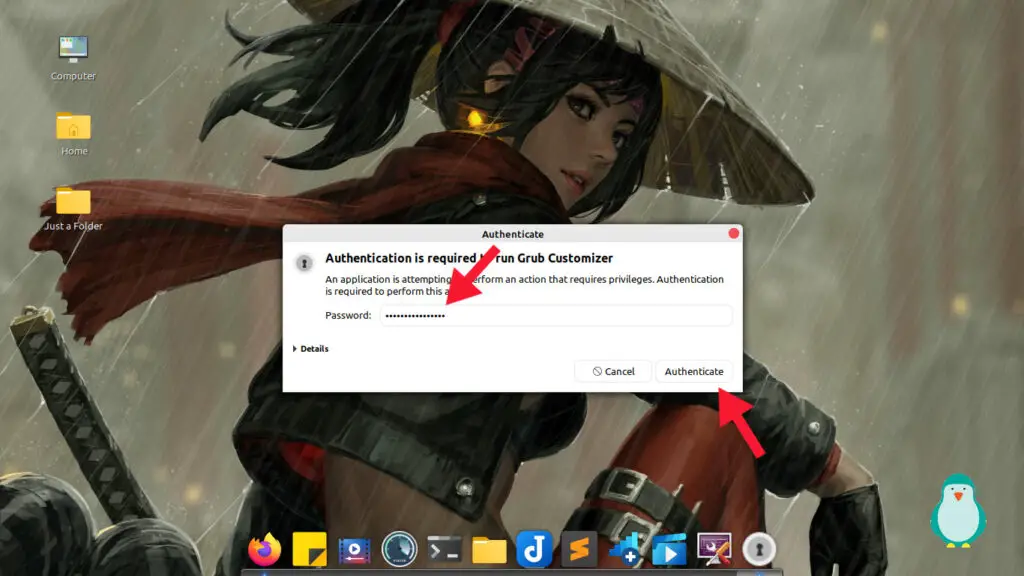
Grub customizer requires root access to edit and customize grub files. Give it root access by filling in the password in the pop-up and click authenticate.
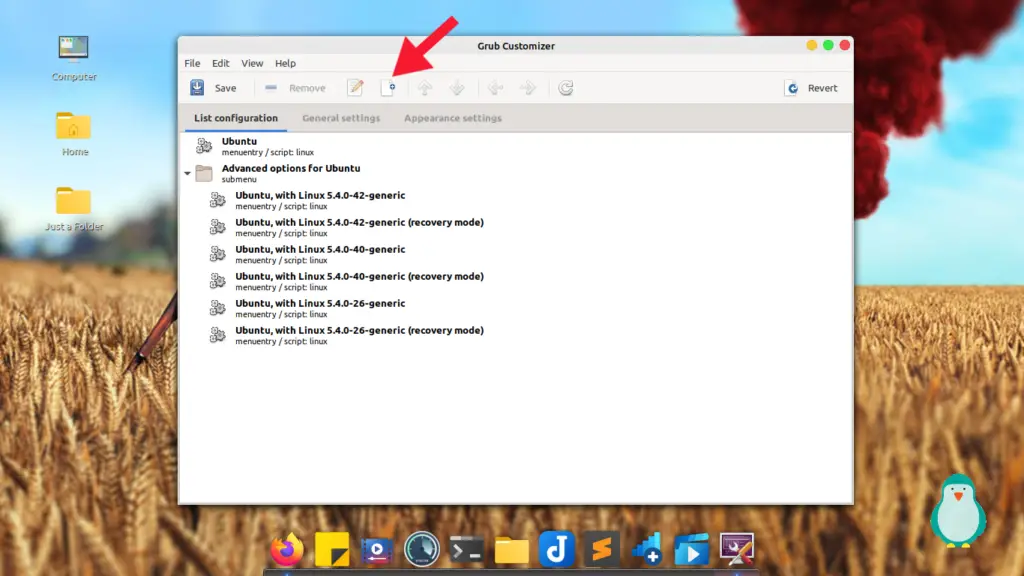
This is the grub-customizer. You will see your default entries here. I recommend you to not mess with any of these as wrong entries could lead to boot failure.
Also Read: How to Install Godot in Ubuntu and Linux Mint 20
Lets register a new entry by clicking the New entry button as shown in the picture above.
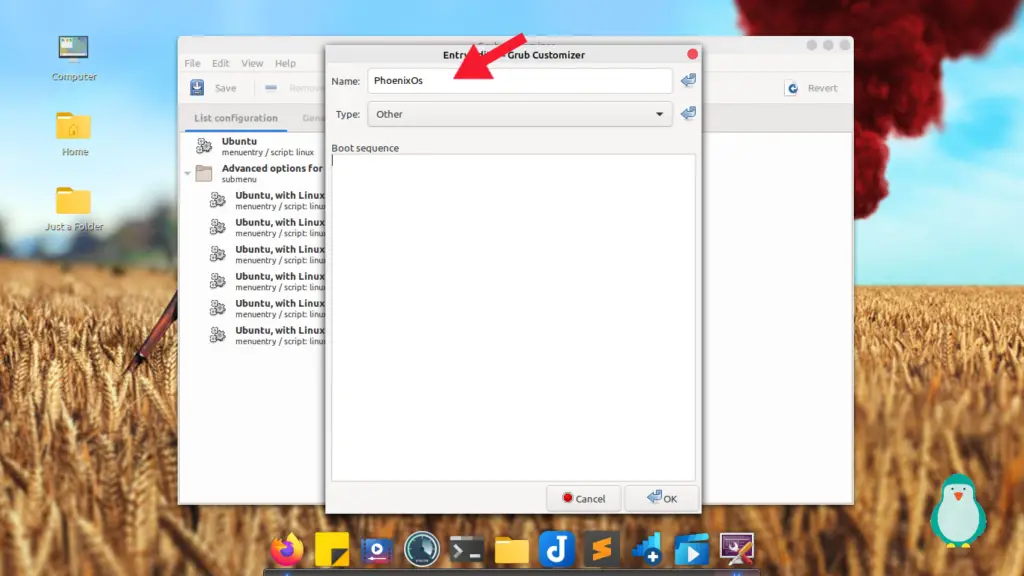
Give your entry a name and a type. I have named it Phoenix OS, but this could be anything . In the “Type” field, choose Other as the type.
Also Read: How to Install Google Chrome on Linux Mint 20
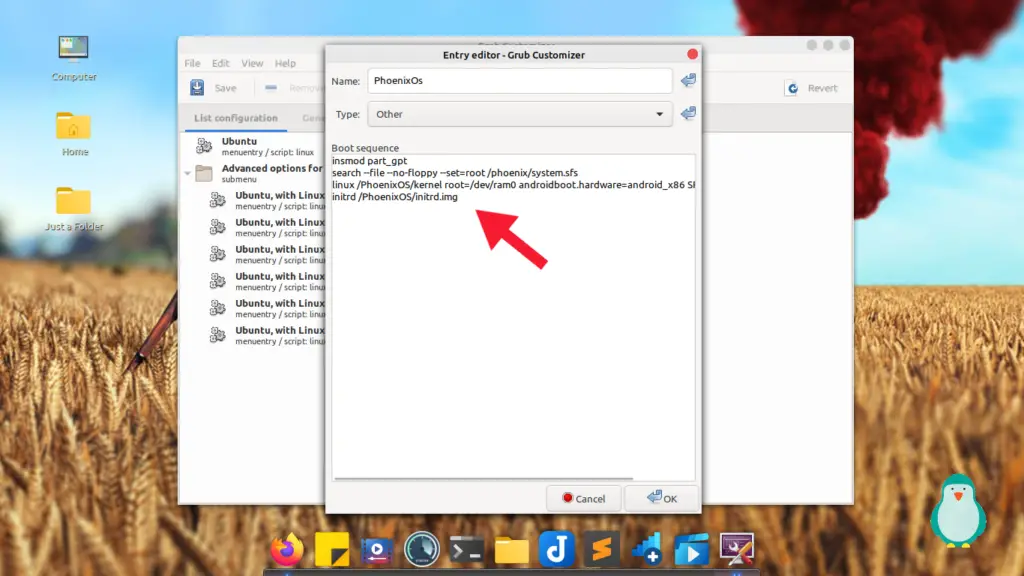
Now enter the commands given below line by line in the “Boot sequence ” field. If don’t enter them line by line, then you may encounter an error while trying to boot into Phoenix OS..
insmod part_gpt
search --file --no-floppy --set=root /PhoenixOS/system.sfs
linux /PhoenixOS/kernel root=/dev/ram0 androidboot.hardware=android_x86 SRC=PhoenixOS/
initrd /PhoenixOS/initrd.img
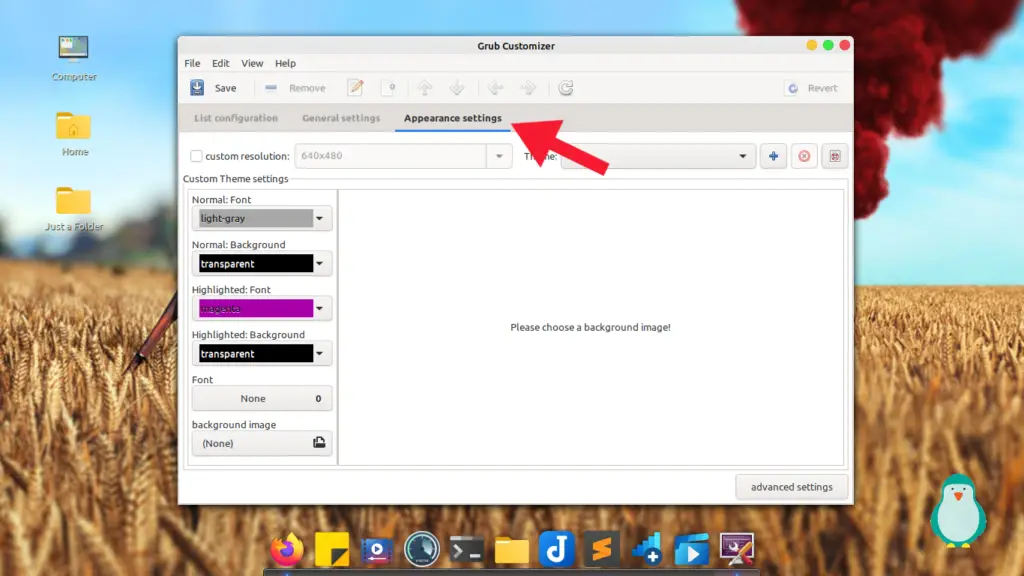
If you want to change the appearance of the grub menu, then go to Appearance settings and customize your menu.
Also Read: How to install Steam on Linux mint 20
This is the menu that will appear at start from which you can choose to start Linux mint or Phoenix OS.
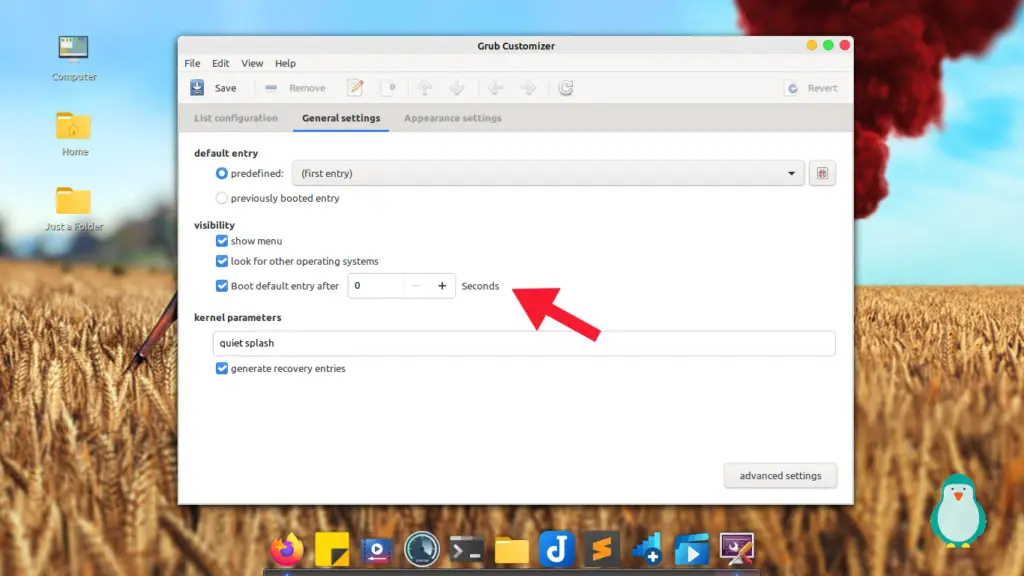
Go to “General settings” to choose which operating system will boot as default and the time after which it will boot.
Grub menu won’t appear every time you reboot your system, but instead you will have to open it manually by pressing ESC on your keyboard, from there you can choose if you want to boot Phoenix OS.
Also Read: How to install Wine on Linux Mint 20
You can set the default entry field to boot Phoenix OS by default.
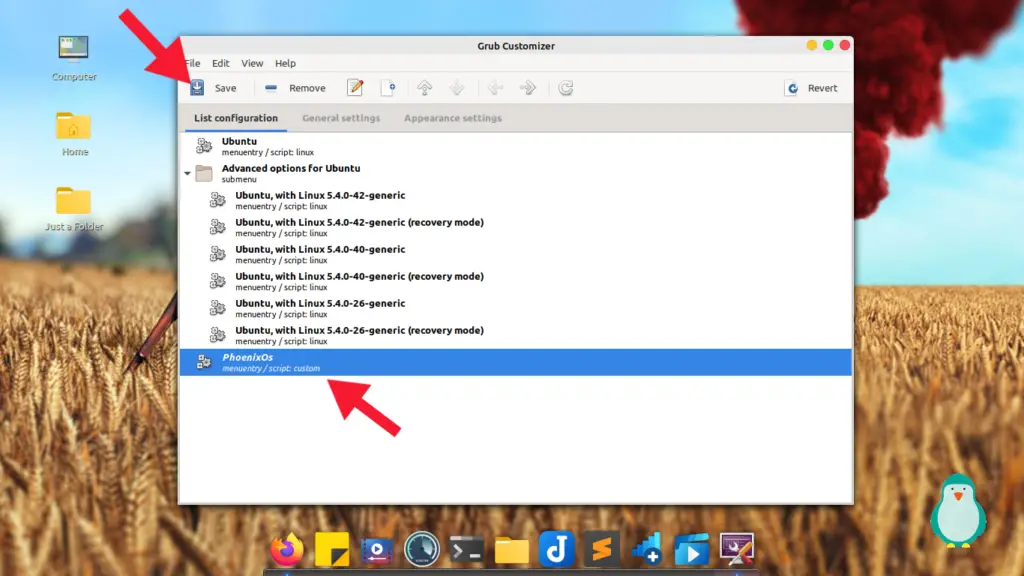
You can now see Phoenix OS entry in the menu, save our settings by clicking on the Save icon in the top right and close grub-customizer.
Getting Phoenix OS ready for installation.
Now make a live USB from the ISO file that you have downloaded. If you have not downloaded Phoenix OS ISO file already, then you can download it here.
You have to download the ISO file for us to be able to make a live USB. The file size would be ~800 M.B
Also Read: Install Simple screen recorder on Linux
The latest version of Phoenix OS till date is v3.6.1 which is based on android 7.
Installing Phoenix OS
Now, it’s time for us to install and dual boot Phoenix OS with our current operating system.
Plug-in your pendrive in your computer, and power off your computer, and keep pressing F10 or F9 while restarting, remember you have to press these keys before it boots Linux mint.
This will take you to a menu from where you can choose the boot device. Select your pendrive using arrow keys and boot from it by pressing Enter key.
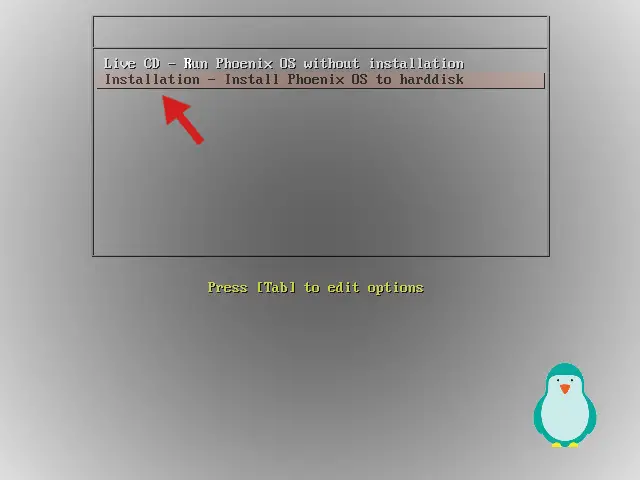
You will see a menu similar to the above picture. One good thing about Phoenix OS is that it is a plu-and-play OS means, you dont need to install it to your system in order to use it.
Also Read: Add applications to cinnamon menu in Linux Mint
You can choose the Live CD mode if you want to run it without installing it or choose “Installation” option using arrow keys and press Enter to continue.
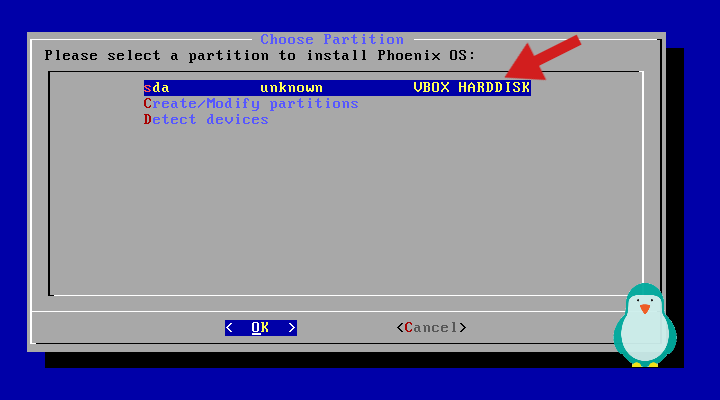
Here you can see all the partitions of your hard disk you have, you can create a new partition for Phoenix OS or can continue with previous partitions.
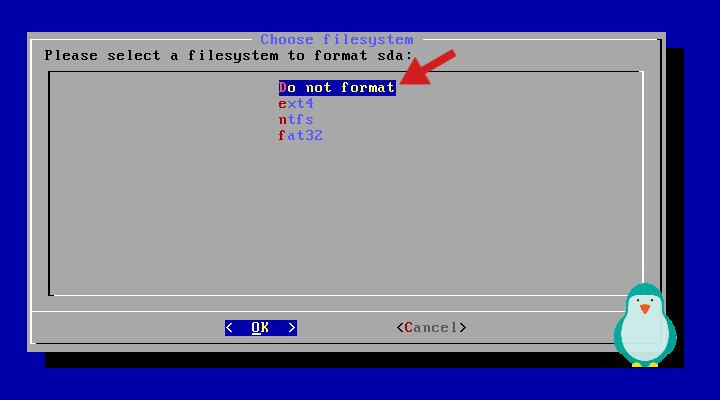
As we are dual booting Pheonix OS with Linux mint, we do not want to format our data. So choose “Do not format” option and press Enter.
Next it will ask you if you want to install Grub menu, choose no as we already have grub installed with our Linux mint.
You just need to deny any option that asks you to install grub and to format partitions.
Also Read: How to install Ubuntu 20.04 (with pictures)?
It will now start installing Phoenix OS to your system. You can see a progress bar which will ask you to reboot your system after it reaches hundred percent.
The installation process will take less than 10 minutes to complete.
Booting into Phoenix OS
This is where our grub menu comes in effect, reboot your system and keep pressing ESC key to enter the grub menu. There you will be able to choose Phoenix OS using keys.
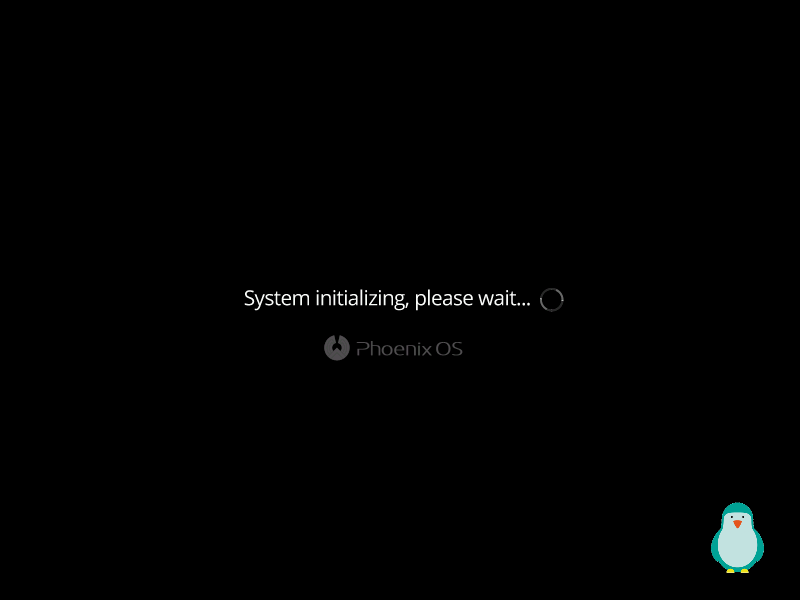
This if what booting in Phoenix OS for the first time looks like, it will take some time to initialize as its your first boot.
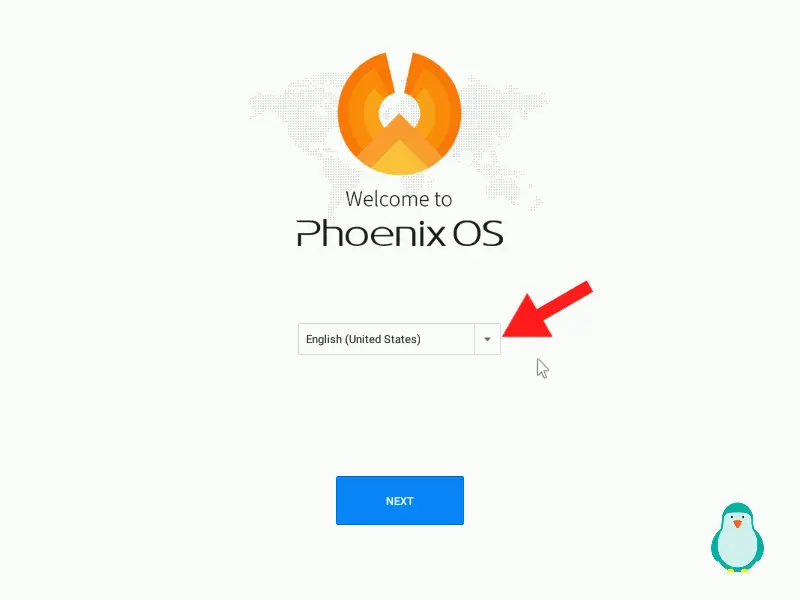
It’s time to configure Phoenix Os for our use and create a new user and set a default language.
Now choose your language, you can choose from two options either Chinese or either English and click Next to continue.
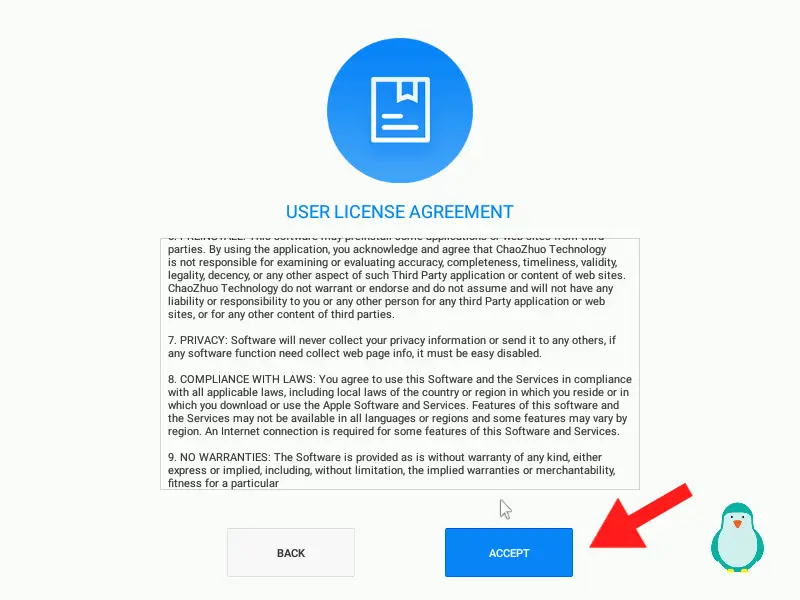
Read the agreement and in order to continue with Phoenix OS accept it by clicking Accept button.
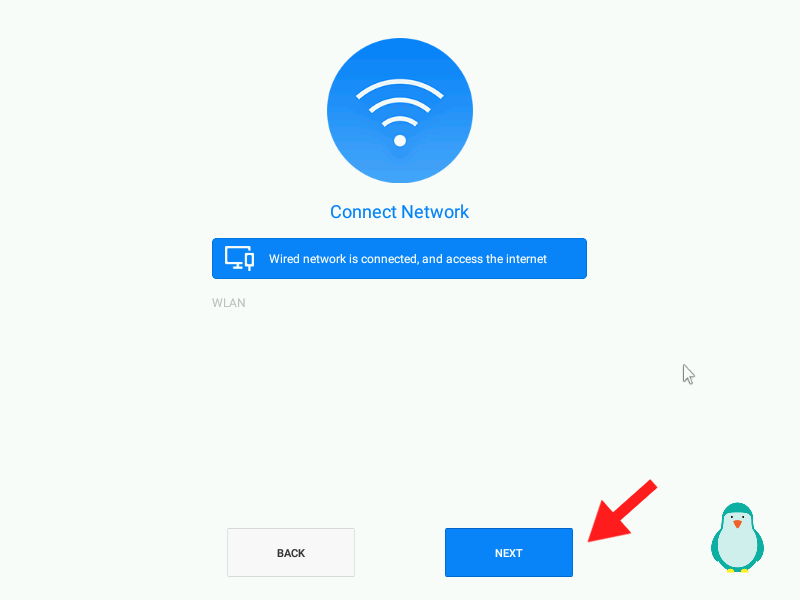
You can configure internet access here, you can also skip this step and can configure this later.
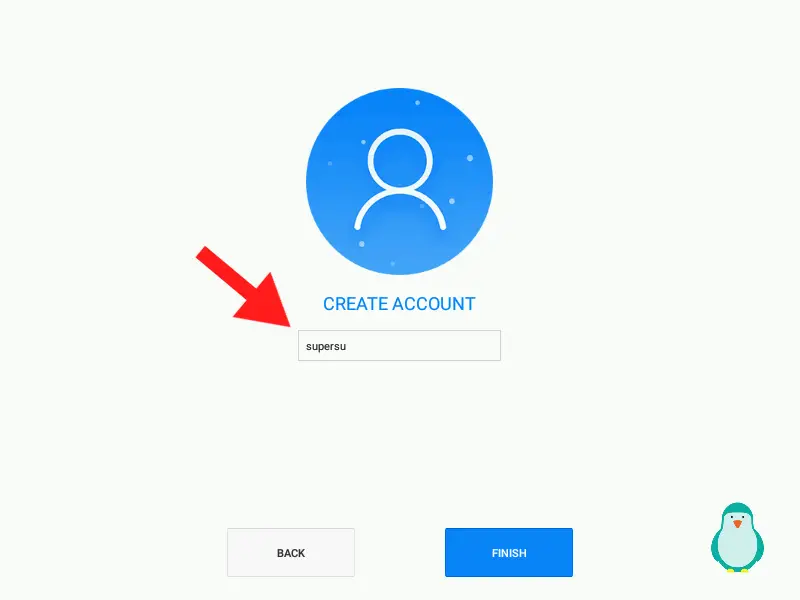
Now create a user, give it a name and click Finish to finally start using Phoenix OS.
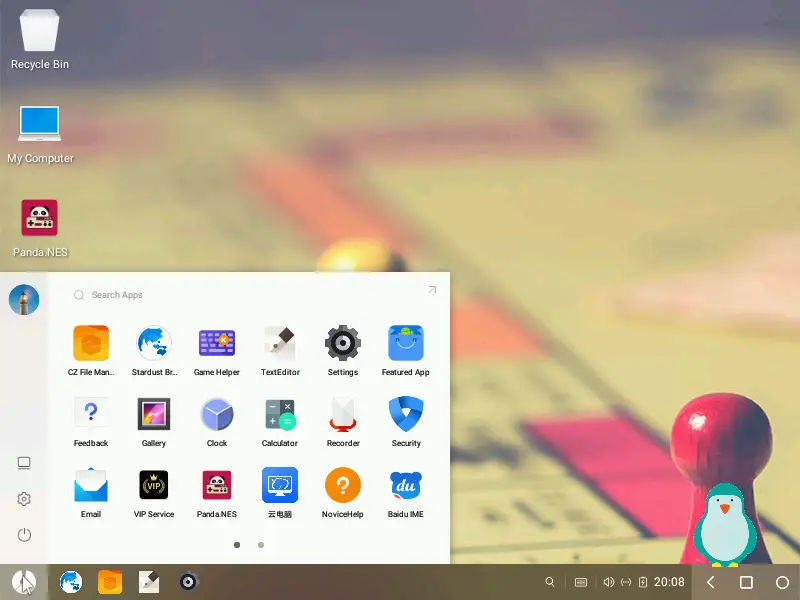
You are now ready to sing into your google account and use android apps and games on PC using Phoenix OS.
Conclusion
Phoenix OS is a pretty good alternative to most emulators as it will run any android app natively and will save you a lot of memory.
It can run on low-end computers too. Linux users who are having trouble playing games on Linux can dual boot Phoenix OS with their current Linux version to play android games.
Sponsored:
