
Having your own VPN can be very useful in business situations where you need as much control as possible over the data that travels through it. On Linux, we have several efficient solutions that can help us to set it up without too much trouble. Today, we will talk about how to set up an IPsec VPN server on Linux.
Introduction — What is a VPN?
A VPN is a virtual private network that allows you to create a secure, encrypted connection to another network over the Internet. A VPN allows devices to be connected to each other over the Internet securely as if they were on a LAN. This ensures the integrity and confidentiality of the information on these devices.
Therefore, a VPN connection allows you to create a local network without the need for its members to be physically connected to each other, but through the Internet. This is useful for sharing resources between them, such as physical devices or virtual components.
Another aspect is that a VPN also functions as an intermediate server between your computer and the rest of the internet, which means that your IP is no longer visible. This means that your packets will carry the IP of the VPN and not that of your ISP.
Is it advisable to use a VPN?
The reality is that it all depends on the user and how they use the internet. Using a VPN is especially recommended when connecting to public Wi-Fi networks. In this way, the communications will be secure because the browsing will take place within your network thanks to the VPN.
A practical example of the above is for people who travel a lot, where they can use a VPN to protect the data they send over these networks.
Another aspect to consider with VPNs is that they are used in situations where connecting to the Internet or certain Internet resources is dangerous, such as in countries where freedom of expression is not guaranteed.
On the other hand, VPNs are recommended for users who feel vulnerable about the integrity of their data over the internet.
Is it worth having your own VPN?
The aim of this post is for you to learn how to install a VPN on Linux, but before doing so, it is worth asking yourself if all the effort is worth it.
The answer to this question will depend on usage and circumstances. Firstly, an average user with little knowledge of server management may consider it unnecessary and prefer to pay for one.
At the other extreme are those organizations that need to make all of their software and hardware resources available to their employees over the Internet. In these cases, the company may determine that creating one is the best option to manage data and resources without relying on third parties.
There are also networking and Linux students and enthusiasts who can take advantage of this to create a dedicated VPN with which to do their testing. So as you can see, it is up to the user and their circumstances to determine whether it is worth doing so.
In conclusion, having your own dedicated VPN is almost always a good idea for managing your personal data. But bear in mind that it takes effort to manage it.
Create an IPsec VPN server on Linux
Before we start, we need to talk about the staging environment and some prerequisites we have to meet.
First, for the tutorial to be possible we have to run it on a clean installation of Debian 11, Ubuntu 20.04, Rocky Linux 8, or Alma Linux 8. By clean installation, we mean that it does not have any additional software installed.
In addition to this, it has to be a server with at least 4 GB RAM and 2 CPU Cores. And with root access credentials.
With this in mind, we can get started.
To create an IPsec VPN server on Linux, we have the help of an installation script that will do the whole procedure for us.
This script will give us a username and password, but we can define it from the installation.
First, we are going to generate a secure password randomly for the VPN
openssl rand -base64 10
You’ll get an output screen like this
u2juWyRzp7DgUrp3
Remember that this will be the password we have to define for our users.
Now generate another string of characters that will serve as a pre-shared key
openssl rand -base64 16
Sample Output:
hGR7wyZ3d6U3FeFqafYe
With this, we can start downloading and executing the script mentioned above.
Regarding Debian and Ubuntu, just run this command
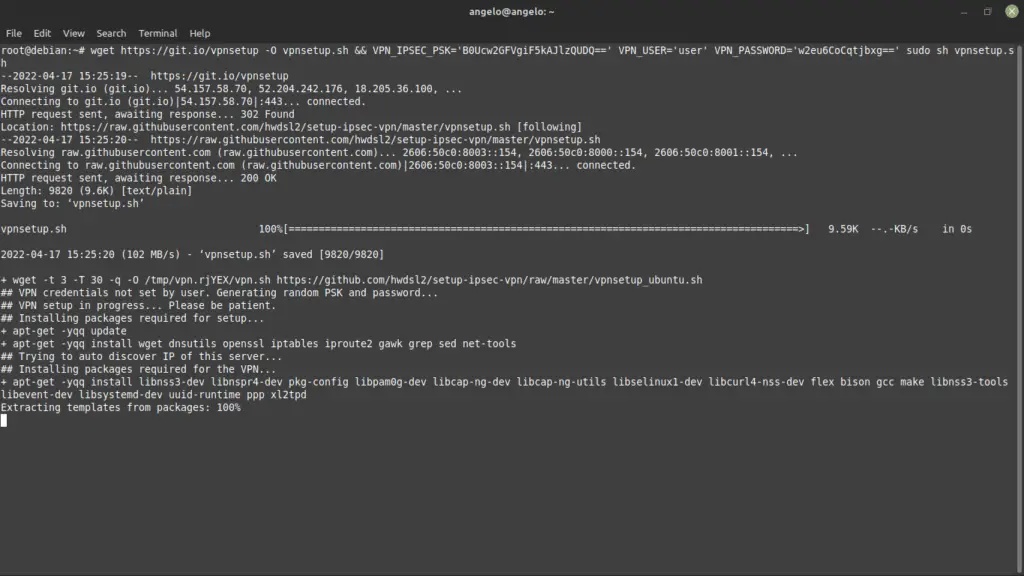
wget https://git.io/vpnsetup -O vpnsetup.sh && VPN_IPSEC_PSK='hGR7wyZ3d6U3FeFqafYe' VPN_USER='user' VPN_PASSWORD='u2juWyRzp7DgUrp3' sudo sh vpnsetup.sh
And for Rocky Linux 8 / Alma Linux 8 you have to run this command:
wget https://git.io/vpnsetup-centos -O vpnsetup.sh && VPN_IPSEC_PSK='hGR7wyZ3d6U3FeFeFqafYe' VPN_USER='user' VPN_PASSWORD='u2juWyRzp7DgUrp3' sudo sh vpnsetup.sh
Remember that the values of `VPN_IPSEC_PSK`, `VPN_USER`, and `VPN_PASSWORD` have to be set with single quotes.
Once the script starts, it will start the entire process of installing dependencies and configurations.
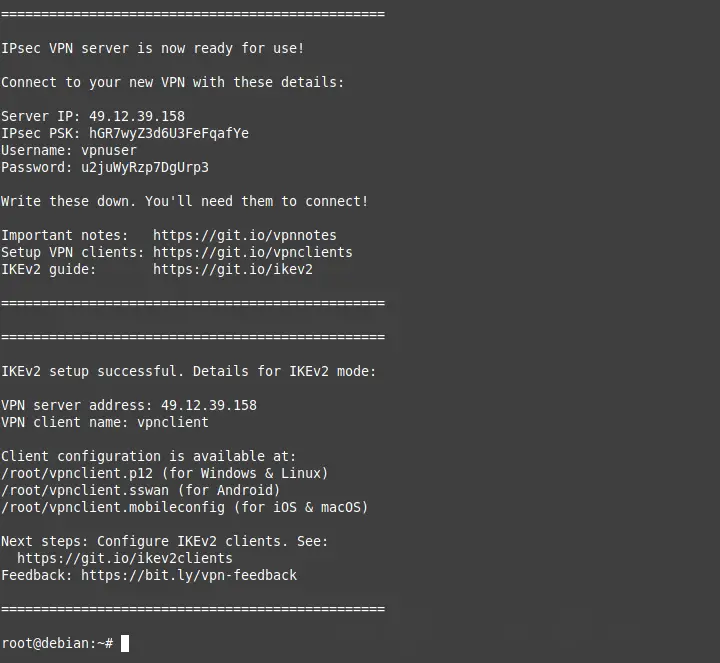
In the end, you will see a screen like the following with the login credentials that you have to write down because you will need them when connecting to a client.
Adding/removing a new VPN User
We have created an initial user, but over time it is necessary to create others. To achieve this, we have another script called `add_vpn_user.sh`.
First, download it
wget -O add_vpn_user.sh https://raw.githubusercontent.com/hwdsl2/setup-ipsec-vpn/master/extras/add_vpn_user.sh
And then, create the new user using the following syntax:
sudo sh add_vpn_user.sh 'username' 'password'
There, you have to replace `username` with one of your own and assign it a secure password.
And to remove it, you have to download and run the script `del_vpn_user.sh`.
wget -O del_vpn_user.sh https://raw.githubusercontent.com/hwdsl2/setup-ipsec-vpn/master/extras/del_vpn_user.sh
And run it as follows:
sudo sh del_vpn_user.sh 'username'.
Replace `username` with the user you want to remove.
Conclusion
Having a secure VPN is possible on Linux thanks to the IPsec protocol. In this post, we have told you in detail how to create IPsec VPN Server on Linux.